Chris Padilla/Blog
My passion project! Posts spanning music, art, software, books, and more. Equal parts journal, sketchbook, mixtape, dev diary, and commonplace book.
- Support the ablum on 🤘 Bandcamp.
- Listen on 📺 Youtube.
- Listen on 🙉 Spotify.
New Album – Goose Creek 🦆🏔️
Greetings from Colorado! I'm releasing my first lil album since the move from Texas.
There's so much natural beauty out here. Mountains frame the sky and streams run in parallel with trails. I couldn't wait to capture some of that magic with sound!
Hope you enjoy, thanks as always for listening!
American Football - Never Meant
Zac Gorman on Process
From cartoonist Zac Gorman:
In regards to process, I prefer to focus on figuring out what works best for me as opposed to what is or isn’t standard practice for contemporary comic artists. It has always been important to me to find a process that I’m comfortable with, that allows me to produce work quickly and that is the most fun possible, in order to stay engaged and productive.
I think a lot of what we understand as an artist’s “style” or “voice” is based around the development and maturation of their working process as this tends to produce a lot of variables, so what works for me may not work for you, but I think that fun, speed and comfort are the three factors I look for most in any process. Quality actually becomes a shockingly arbitrary value if you don’t first develop a process which helps you to finish work, enjoy the process of making work, and desire to make new work.
Play around with what works for you.
Another vote for Process > Product.
What's so appealing about an artist's visual style is how it communicates so much of their process. There's a great deal of humanity naturally baked in.
You would think this only applies to loose styles like Zac's, with their wobbly lines or flowing gestures. But even really polished, highly rendered pieces can expose how much an artist revels in the details.
Either way, fun has to be a major element.
(Even in software — I was speaking with a colleague about how the experience of working with a language can change the joy in the process and, of course, the end product.)
From the Window
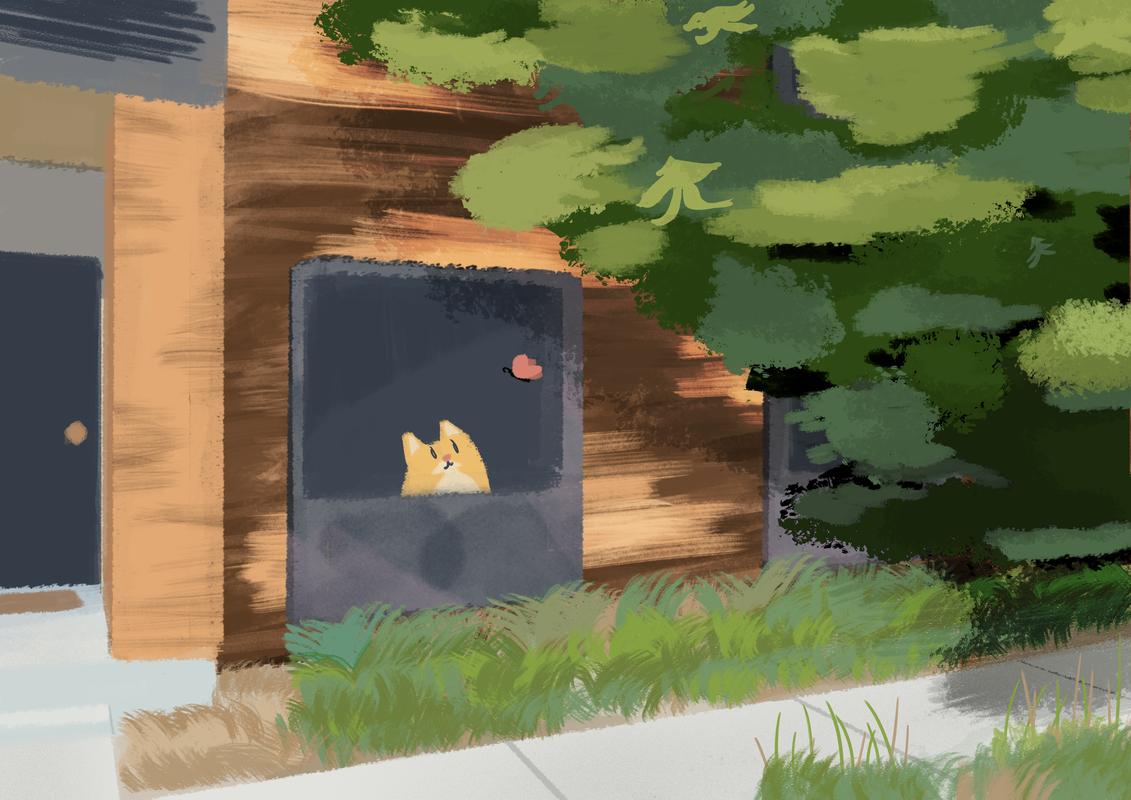
A scene from my walks with Lucy around our new neighborhood!
Radiohead - Weird Fishes/Arpeggi
      /`·.¸
     /¸...¸`:·
¸.·´ ¸ `·.¸.·´)
: © ):´;      ¸  {
 `·.¸ `·  ¸.·´\`·¸)
`\\´´\¸.·´
Integration
A few years ago, I was torn up about leaving the teaching profession. I had this assumption that leaving the career meant that I was letting go of an identity: Someone that mentored. Someone that served. And someone doing creative work.
I was delightfully surprised as I stepped into the work of software. It turns out there's plenty of creativity, daily opportunities to be in service of others, and teaching/learning are requirements for the job.
It's noble to commit to a profession. However, the reality is that the humanity is in the effortless integration between roles and skills. A call with a friend is an opportunity to teach. So is playing with your dog. So is onboarding a new colleague. So is writing a blog post.
The same is true for many of the professions. Do you have to be a painter to be creative? Or are you creative when you come up with a solution to an interpersonal dispute? Are you only a leader if you manage others? Or can you lead by example from a position "lower" on the ladder? Are you only an entrepreneur when you run a company? Or do you find ways to innovate within your team?
The roles are merely robes to wear. Easily changed, we can step into them at any time. You may find yourself wearing certain pieces in unlikely places.
Testing Time Interval Code
Unit tests, as a rule, are meant to be quick to run. Part of their benefit is the ability to cover the entire codebase and give you feedback on its working status in a few seconds.
Let's look at an exception: Code that is timing sensitive.
In my case, I have a function that imitates throttling behavior. Meaning: the first call will set a timeout, subsequent calls will be gathered, and after the timeout, a merged result will be returned.
How would I test that functionality?
An Aside
The way my function is gathering calls is trivial for today's topic. If you're curious: In my real-world case, I'm using an in-memory Redis server to store args passed to function calls. But I'll leave out the details. Let's get to the testing!
Considerations
As mentioned, we want to keep the benefit of a tight iteration loop. Test runners may even limit the time a test can run. Bun, our test runner of choice today, errors if a test takes longer than 5 seconds.
To handle this, if the function tested typically has a timeout set for 60 seconds, we'll truncate it to 1 second for testing.
export const getFunctionTimeout = () => {
    if (process.env.NODE_ENV === "test") return 1;
    const envValue = process.env.FUNCTION_TIMEOUT;
    if (envValue) return parseInt(envValue, 10);
};
Typically, we test multiple cases with multiple tests. A describe block will have separate it blocks, each test being decoupled from the others. If we are working with timeouts, however, writing multiple tests will dramatically increase the time it takes for our tests to complete if they run sequentially.
Writing the Test
To simulate delayed function calls, I'm going to write a method that returns a promise that resolves based on the position in a list of arguments:
const additionalMessageInterval = (getFunctionTimeout() * 1000) / 10;

const getStaggeredFunctionCalls = (argValues: ArgValues[]) =>
        argValues.map((args, i) => {
            return (async () => {
                if (i) await wait(i * additionalMessageInterval);
                // Call the function being tested.
                await myThrottleFunction(args, callback);
            })();
        });
Note the additionalMessageInterval. Instead of hard-coding a number and coupling my tests, I'm making the interval dynamic based on the value returned by getFunctionTimeout.
Now, I'll generate those function calls and pass them into a Promise.all call:
describe("myThrottleFunction", () => {
    it("should handle throttling args", async () => {
        const callback = mock((args: Args) => {});

        await Promise.all([
            ...getStaggeredFunctionCalls(firstSetOfArgs),
            ...getStaggeredFunctionCalls(secondSetOfArgs),
        ]);
    }

    // . . .
}
After this, I can ascertain the behavior of my function. Here, I'll do so by checking if my callback was called the expected number of times:
expect(callback).toHaveBeenCalledTimes(2);
expect(callback).toHaveBeenCalledWith(firstSetOfArgs);
expect(callback).toHaveBeenCalledWith(secondSetOfArgs);
Viola! By using a series of promises with timeouts, I've now simulated throttled behavior in my tests. From here, I can expand the test as needed to handle the unique behavior of my function.
Have a good time playing with this!
Mario Kart World and Curiosity
Pixel Artist / Game Dev Tahko on Mario Kart World1:
hot take but the open world in mario kart world is actually super detailed there just isn’t any fancy reward for noticing things
There's a metaphor there!
Games are notorious for incentivizing exploration through secrets, achievements, etc. It's what they do — gamify curiosity. It's beautiful to me that what will likely be the best-selling game on the Nintendo Switch 2 has brought in so much detail and left it to the player to seek it out for the pure delight of finding it.
Platforms have similarly gamified several creative pursuits: Writing, art, music, etc. There are plenty of benefits: more easily connecting with like-minded creatives, being exposed to more inspiring work, reaching a broader audience, etc. It can be fun! One potential tradeoff though, is a misplaced emphasis on how many points a piece gets on these platforms. Which then contorts the practice from creating beauty to algorithm juicing.
I remember as a kid spinning up Time Trial on Mario Kart 64 many times. Though it wasn't to try and beat a personal best. The benefit of this mode was that you had the track all to yourself, and there was no point where you'd be kicked out until you completed three laps. This was so alluring because it gave me time to slow down and explore the scenery, find the secrets, and imagine my own stories in these worlds.
Curiosity, it seems, didn't need an achievement to be worth pursuing. I imagine the same is true for whatever your practice is.
Sloan on Platforms
Robin Sloan on platforms and the web:
And I suppose I think a standard for art is that it doesn’t just play a game, but invents one. On an internet crowded with creators eager to obey each platform’s demands, follow their Best Practices (which harden into mandatory genres: quick-setting concrete), there is, I believe, an incandescence to stubborn specificity.
... There’s one platform for which none of this is true, and that’s the web platform, because it offers the grain of a medium — book, movie, album — rather than the seduction of a casino.
Astute and eloquent as always.
Blogs and websites certainly have their own ecology and cookie-cutter shapes you can fit neatly into. And yet, at the same time, they don't. It's that fine control, the distance from metrics and algorithm juicing, the conductor with their back turned to the audience — all of this makes the act of web craft much more fulfilling in the end.
Giving to Open Source
3D artist End Vertex released a video on For-Profit (Creative) Software last month. The whole video is worth your time if you've ever touched programs like Flash, ZBrush, or anything Adobe.
The style of the video itself is fascinating. It moves seamlessly between history of the web, SaaS pricing model critique, and full blown CG animated art piece. You have the sense of being in a conversation with the way the tone shifts between presentational and intentionally meandering.
There are a few takeaways:
This will be familiar to software folks: Avoid coupling with outside vendors. Favor Open Source where possible and decouple the implementation details enough to make migration less painful.
That's one thing for a codebase to handle. It's another for an individual artist to take into account, especially when industry standard software is an expected requirement for finding employment. Paying for software is good and we should do that. Being expected to pay enterprise level price points for individual accounts, though?
The salient message is to support Open Source projects and communities.
We live in a bonkers time. In the 90s, Bryce 3D would have run for $299. Photoshop for $895. Yet, today, you have terrific Open Source alternatives available for free thanks to the work of talented devs, volunteers, patrons, and advocates.
Every paid product that you are using is bolstered by numerous Open Source projects. Everything from ffmpeg to SQLite. Chances are that an app you are using is just a thin layer of custom logic on top of an iceberg of OSS. If you are using a computer to read this, you have benefited from the Open Source community.
So it's worth giving back when you can.
The first thought that comes to mind would be to do so through a pull request. That's great if you have the time! Many of us are busy, though. Contributing needs to be in the same lane as our own work for this to be sustainable.
It doesn't take being a developer to contribute, though. Docs need writing. Tutorials need creating. Projects need advocates and proud supporters. If you are a user of the software, you can proudly bang the drum and/or write guides for newcomers as End Vertex recommends.
And, of course, you can donate. Plenty of options abound, my personal favorites: KDE, Blender, and Internet Archive.
I love seeing this on a corporate level. Chad Whitacre spoke on Syntax about his time stewarding large donations towards Open Source projects. It's often times not a large some of money for the company donating, but makes a large difference for the maintainers receiving it.
There's no shortage of criticism around big tech. Even so, there are people and technologies that are looking to give. Help out when you can!
Toucan Jam
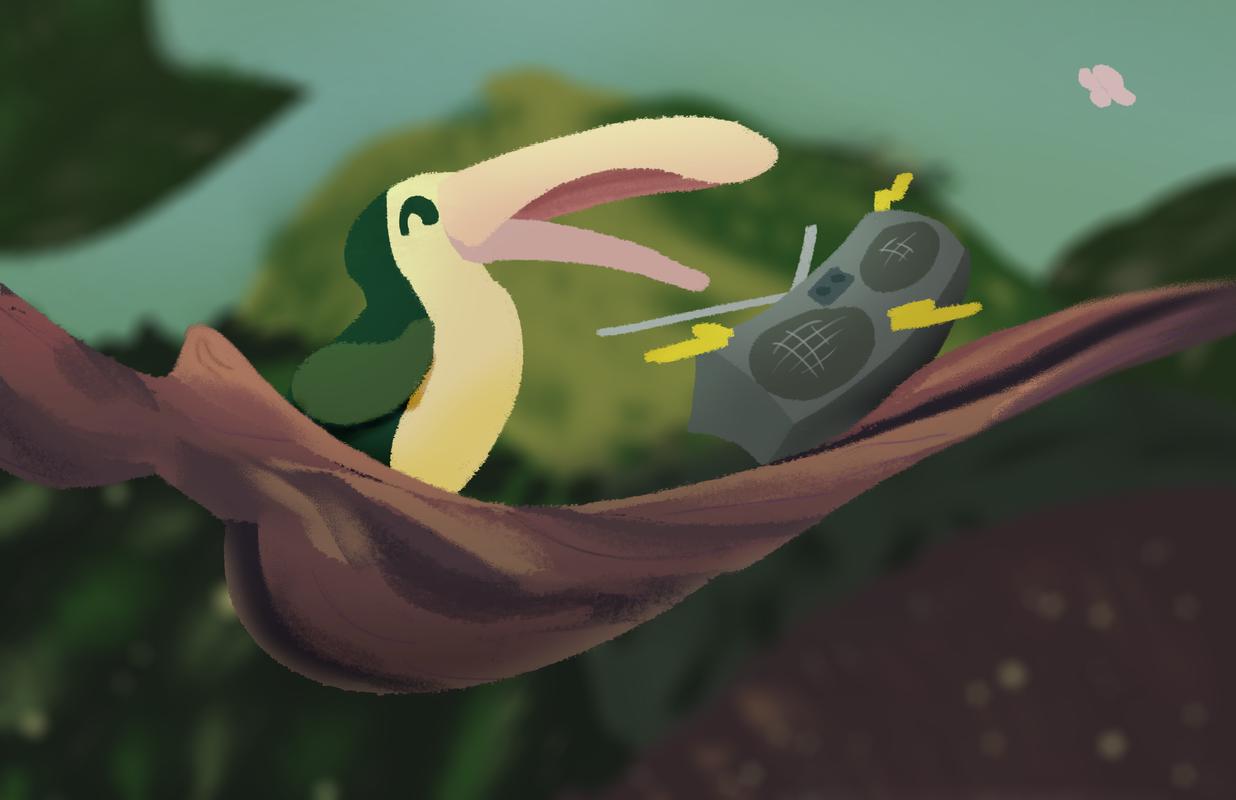
The bird out of the box!
New App – Bird Box!
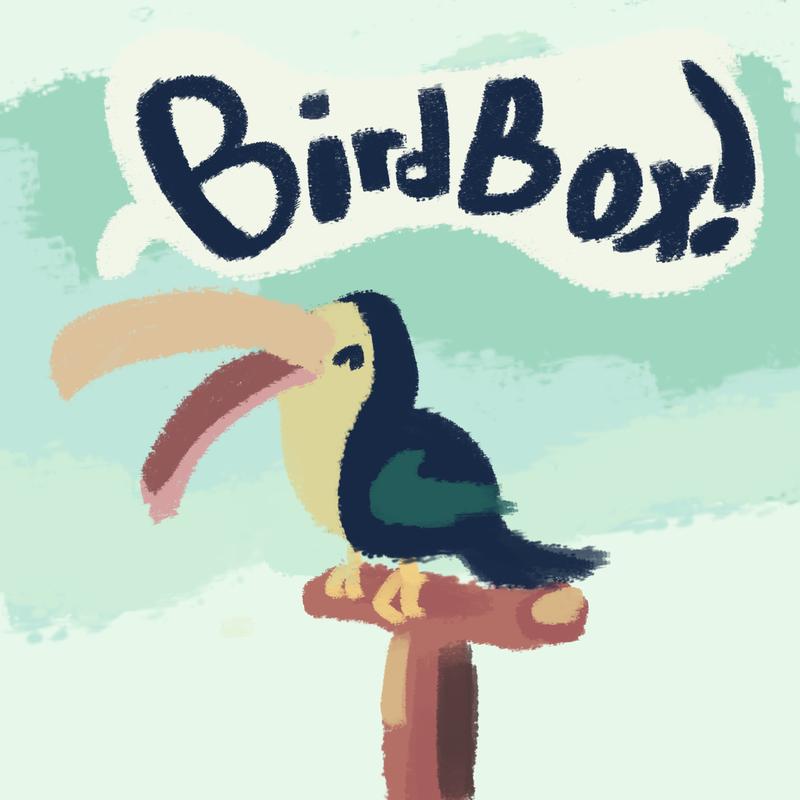
I'm launching an app today!!
Go learn more here, where you'll find download links for iOS and Android!
Tubelord - Night of The Pencils
Didn't think I could pick that fast!!
Thanks to Let's Talk About Math Rock for the tabs and curated licks.
Beet Peek

Been eating lots of these guys!
Mountains – Restarts
"A new chapter to add, to a life of restarts."
Thanks to Let's Talk About Math Rock for the tabs and curated licks.