Chris Padilla/Blog
My passion project! Posts spanning music, art, software, books, and more. Equal parts journal, sketchbook, mixtape, dev diary, and commonplace book.
- Photoshop was a required skill for making sites at the time. The main banner and featured videos section were probably made in MS Paint, tough.
- When a new post went up, I simply edited the HTML by hand. I didn't realize many sites had a CMS behind them! I would have been blown away by WordPress
- A missed opportunity: Those posts could have had an RSS feed!
- Tables layouts! Without flex or grid, this was how most developers were creating placing their content/
- No CSS file, really. Any CSS is done inline or with an HTML tag, like the deprecated
<font />and<center />tags. - No JavaScript, ethier! I would have earned a perfect score for performance in my web core vitals.
- Run a DB locally
- Setup our DB Schema through the Models of our application, not in SQL
- Setup migrations for our application to keep the SQL Schema in sync with our models
[Key]is a Data Annotation that lets Entity Framework know that this is our Primary Key in SQL[Required]does as you'd expect. One thing worth noting: to avoid a non-null error, set the Name value in the constructor.- Tolkein's Fellowship of the Ring Wow, the "One does not simply..." meme doesn't actually come up in the book! Nor does "You have my bow...and my axe!"
- Calvin and Hobbes Vol. 1 These strips are so delightfully dynamic! I can't believe I've slept on these.
- Mickey Mouse, Vol. 2: Trapped on Treasure Island A find at Recycled Books in Denton. The adventure strips from the 30's are so wildly detailed!
- I have a few words written through the Books tag on my blog. My favorite this month: Rob Ingles Singing Lord of the Rings
- Rooms With Walls and Windows by Julie Byrne. Beautiful, moody, home grown solo album.
- This Jungle in Gaming Mix on YouTube is a special kind of nostalgic.
- program music II by KASHIWA Daisuke. Is "Music That Could Be in an Anime Movie" a genre?
- Ted Lassoooooo! 💔
- I'm listening to Cartoonist Kayfabe while I draw. Since comics are a solitary experience, it's so fun to hear a couple of pros geek out over them together!
- Use ASP.NET Core 6
- The West US region wasn't available on Azure, so I went with East US
- To get CI going, I had to select Windows as the server's operating system on Azure
- For Linux, the Github Action Azure uses will generate a web.config file. In my case, I had to add it myself to avoid IIS errors
- My project template uses a
DateOnlyclass, which needed converting for .NET Core 6. Here's what I added to get things going:
MVC in ASP.NET Core
This week's edition of ASP.NET adventures: kick starting an MVC app with ASP.NET Core!
On the front-end side of things: Two things that make this a really delightful and smooth process are Razor Pages and Tag Helpers.
My MVC experience up to this point has been with templating engines in Express. What they do well is make it dead simple to get data into the template. The limitation is flexibility and reactivity. (Especially coming from working mostly in React.)
ASP.NET MVC apps have a really nice in between through these two tools.
I'll show the setup with Models and Controllers first, then on to views in action!
(Code samples and all of my info here are coming from this great introductory video to MVC in ASP.NET Core 6)
Models
Here's a look at the model I'm using:
using System;
using System.ComponentModel;
using System.ComponentModel.DataAnnotations;

namespace BulkyBookWebDotNet6MVC.Models
{
    public class Category
    {
        [Key]
        public int Id { get; set; }
        [Required]
        public string Name { get; set; }
        [DisplayName("Display Order")]
        [Range(1, 100, ErrorMessage = "Display Order must be between 1 and 100")]
        public int DisplayOrder { get; set; }
        public DateTime CreatedDateTime { get; set; } = DateTime.Now;
    }
}
Nothing fancy! The code in square brackets are used by Entity Framework for field validation. DisplayName will affect what's rendered in the view, for example. Otherwise DisplayOrder would be the defaut.
Controller
Setting up controllers is a straight-shot. Grab what's needed from the database and send it the view.
// GET: /<controller>/
public IActionResult Edit(int? id)
{
    if (id == null || id == 0)
    {
        return NotFound();
    }

    var CategoryFromDb = _db.CategorySet.Find(id);
    //var CategoryFromDb = _db.CategorySet.FirstOrDefault(u=>u.Id == id);
    //var CategoryFromDb = _db.CategorySet.SingleOrDefault(u=>u.Id == id);

    if (CategoryFromDb == null)
    {
        return NotFound();
    }

    return View(CategoryFromDb);
}

// Post: /<controller>/
[HttpPost]
[ValidateAntiForgeryToken]
public IActionResult Edit(Category obj)
{
    if (obj.Name == obj.DisplayOrder.ToString())
    {
        ModelState.AddModelError("name", "Display order cannot match the name.");
    }

    if (ModelState.IsValid)
    {
        _db.CategorySet.Update(obj);
        _db.SaveChanges();
        TempData["success"] = "Category updated successfully";
        return RedirectToAction("Index");
    }

    return View(obj);
}
View
Here's an example of a "Create Category" page for an app:
@model Category


<h1>Create</h1>

<form method="post">
    <div class="border p-3 mt-4">
        <h2 class="text-primary">Create Category</h2>
        <div asp-validation-summary="All"></div>
        <div class="row pb-2">
            <label asp-for="Name"></label>
            <input asp-for="Name" class="form-control" />
            <span class="text-danger">@Html.ValidationMessageFor(m => m.Name)</span>
        </div>
        <div class="row pb-2">
            <label asp-for="DisplayOrder"></label>
            <input asp-for="DisplayOrder" class="form-control" />
            <span class="text-danger">@Html.ValidationMessageFor(m => m.DisplayOrder)</span>
        </div>
        <button type="submit" class="btn btn-primary" style="width: 150px;">Create</button>
        <a asp-controller="Category" asp-action="Index" class="btn btn-secondary" style="width: 150px;">
            Back To List
        </a>
    </div>
</form>

@section Scripts{
    @{
        <partial name="_ValidationScriptsPartial" />
    }

}
At the top, we're bringing in my Category model with @model Category. The controller takes care of sending this to the view both on GET and POST requests:
For the most part, I'm just writing regular html. If I needed to include anything from the model, I could throw @Category.Name anywhere and it will render to the page. Any C# that I wanted to write just requires the @ symbol.
Tag Helpers
The killer part of the example for me are the asp- attributes. These are Tag Helpers that inject a lot of functionality automatically.
Take a look at the name field:
<div class="row pb-2">
    <label asp-for="Name"></label>
    <input asp-for="Name" class="form-control" />
    <span class="text-danger">@Html.ValidationMessageFor(m => m.Name)</span>
</div>
asp-for on the label and input will know to populate the name input with the value from name, as well as pull from it when the form is submitted. Also included is client side validation automatically. When an error is found, the message is then passed to the @Html.ValidationMessageFor(m => m.Name)
That's it! It's a fair bit of magic, but it saves a lot of code that would normally be done by hand in JavaScript, or requiring a heavy library.
Learning the Neck on Guitar
Guitar has hands down been the hardest instrument I've played as far as getting familiar with the notes.
Saxophone, admittedly, is one of the easiest. You really only have to learn 20 different finger combinations, and then you know most of the instrument.
Piano is even easier!! You learn 12 notes and you can apply that to all 88 keys. Maybe you could say it's more like 24, since you're also reading bass clef.
Here's the thing about those instruments: They are two dimensional. You play up the piano, and gradually go up. Same with sax and most wind instruments.
Guitar, though, is three dimensional. You can go up the instrument by following a string up or by hopping to another string.
Wicked.
If you're like me, you can go surprisingly far on guitar without knowing too many notes, too. A trained ear and know that a scale is a series of whole and half steps does wonders.
But! It doesn't take me far enough. So here's how I'm going about actually learning where every single note is on this instrument:
1. Reading Sheet Music over tabs.
For bettor or worse, I learned to read music from the page.
If you're learning and you don't already read music, I'm not sure it's that necessary depending on what you want to do. If you already do, making the notes visual is a pretty great first step
2. Barre Chords
A two for one: Once you can play barre chords, there's no better way to get familiar with the thickest two strings than with playing this across the instrument.
3. Hardcore Memorization
The least sexy, but the most effective. A professor of mine from undergrad, while learning Portuguese, said it plainly: "There's a lot of romanticizing around immersive learning. While that's all fine and well, nothing beats buying a dictionary and memorizing the words."
The point isn't one is better than the other, you need both, but guitar players (especially me) can be guilty of only playing and putting off learning the notes through a more rote approach.
Thankfully, it's infinitely easier in 2023 with apps and online tools.
At the risk of this blog sounding like a sponsored post: My favorite is Justin Guitar's Note Finder App. It's what you'd expect and a little more: Finding the note on a nice GUI, an option to try and identify what note is being shown. It even feels like a game, so it can be addictive to study the neck this way.
4. Triads
My next step is moving on to playing triads to bridge the theory to actual music making. More improv on it coming soon. 😁
250 Box Challenge and Repetition
I'm doing the 250 box challenge right now. It's the namesake for the website drawabox.com.
The gist: You draw lots of boxes in 3 point perspective. In pen. And you extend your lines at the end to check that the points converge towards a vanishing point.
Brutal.
The exercise looks like this:
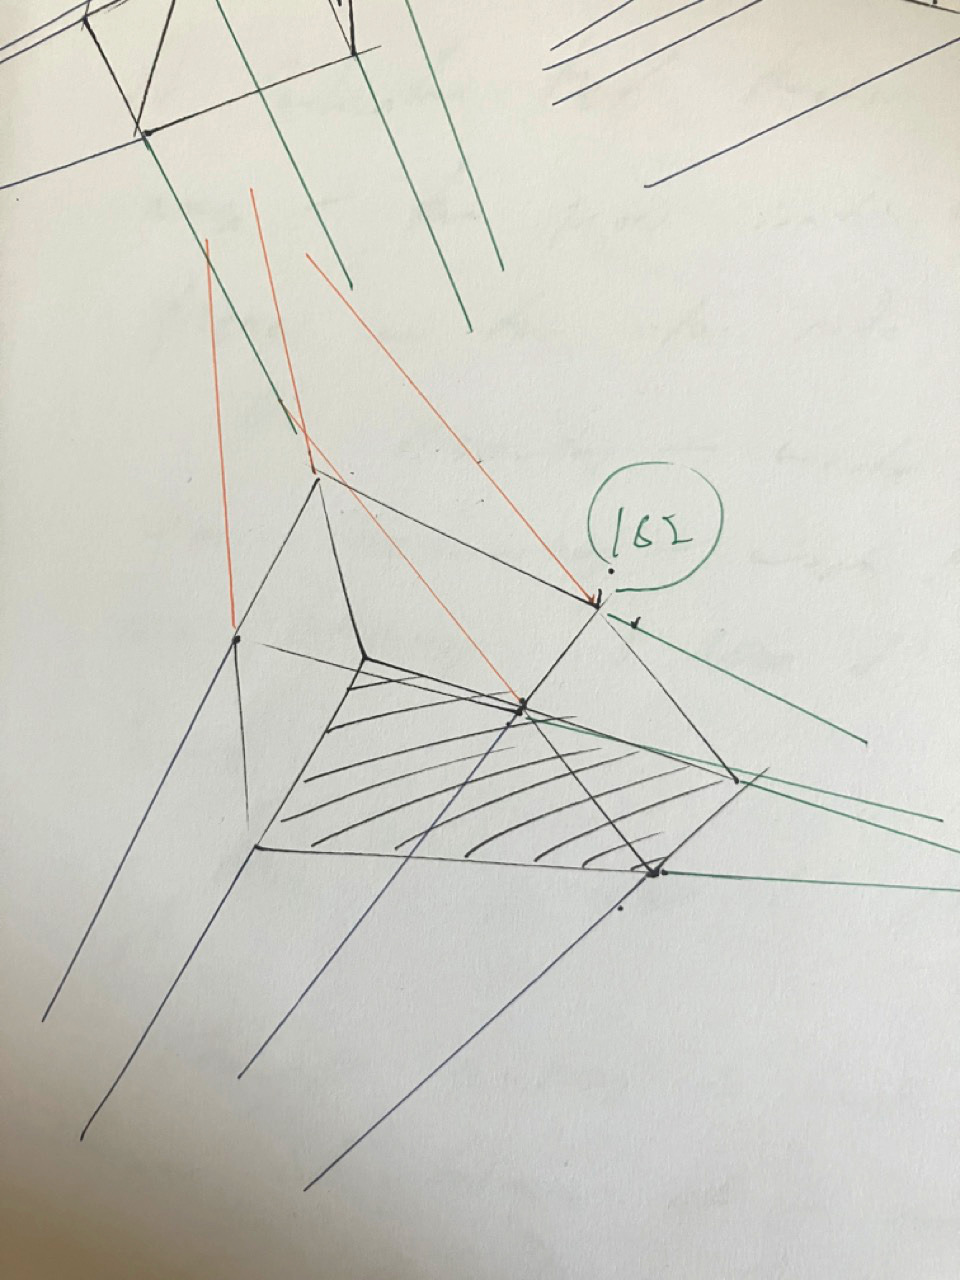
The point is to get familiar with perspective. And every now and then I stop and ask "am I doing this wrong? Are there any tips? Am I just not looking at it the wrong way. Maybe if I find another guide..." It's a question I've had for most art. If I find the right strategy, I'll just know how to do the thing.
But, in my experience so far, there is just some intuition that comes from repetition. There's no real strategy aside from "do it again, but try another approach."
On a practical level, what helps me is to plot a dot for where I think a line will go and then ghost it like crazy. I'll intentionally plot one that I know is parallel as a reference if I'm really unsure.
But, for the most part, it's like learning a sport or an instrument: the more you do it, the more your brain will learn the fine-motor control of what you're trying to do.
That's what really struck me! Just like I have to practice scales, I have to warm up on drawing lines.
I kind of wish the challenge was called "Draw 250 boxes (mostly badly!)" since that's the intention behind it!
All this to say: Art, especially at the beginning, is just as much a physical skill as it is a design skill.
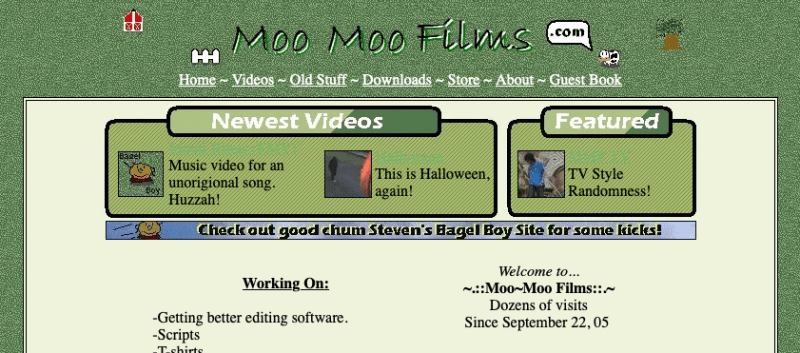
My First Website from 2005
Like many folks born in the early 90s, I grew up with the web. You could say we both grew up alongside each other! I was right on that edge of entering elementary school just as the internet became a household utility.
I was coding my first few webpages at 8 years old, which is wild to think about looking back. I played lots of Neopets at the peak of its heyday. The platform exposed a way for player's to add custom HTML for their shop pages and profiles. With the help of some kid-friendly HTML resources, I was able to add midis, custom cursors, and all sorts of Geocities-era site features!
Fast forward into my teens, on the other side of the early rise in Youtube's popularity. I took up video making and sketch writing for fun. And most of the "pros" (at least, the larger channels) had their own websites.
I was already drawing comics at the time, too. I would pass a four-panel strip around and share them with friends in class. Like a daily syndication, but on notebook paper and in No.2 pencil. I wasn't aware of the rise of webcomics online at the time, but it occurred to me all the same that having a home for those doodles and videos would be a pretty neat idea.
And so, moomoofilms.com was born.
Unfortunately, most of the site has been lost to time. The HTML was coded directly on my hosting service's platform, which shut down years ago. I still have the videos on a hard drive (too juvenile to share publicly, but endearing all the same!) The comics are gone, maybe in a folder back in my parents' attic. And a few small technical experiments and widgets have been lost too. (Moral of the story: Back up your files!)
Thanks to the Way Back Machine, I was able to recover the landing page!
Technical Comparisons
A few fun observations comparing this to modern websites:
<table border="0" cellpadding="2" cellspacing="1" style="border-collapse:" width="505" bordercolor="#666666" valign="top">
 <tr>
      <td width="503" colspan="2" background="./assets/news.jpeg">
        <b><font size="2">Happy Belated New Year! - 1/20/08</font></b>
      </td>
  </tr>
  <tr>
        <td width="51">
            <img border="0" src="./assets/aimbagelboyfield.jpeg" width="50" height="50"></font>
        </td>


        <td width="451">
            <p align="left">

                Good News, everyone!

                ...

            </p>
        </td>
    </tr>
</table>
The Good Ol' Days
My site pre-dated widespread social media. If you wanted an online profile, you had a few options like Livejournal, Blogger, WordPress, etc. Or you did what I did and rolled up your sleeves to put the HTML together.
That lent the internet to so much customization and ownership! Compare that to the cookie-cutter profiles across social media now.
Making sites was a unique, widespread way for a broad audience to be introduced to programming. (Calling HTML programming is a stretch to some, but I say it counts!) I know plenty of developers that got their start customizing MySpace, Tumblr, and WordPress pages.
Today, It's great that anyone can make a profile on any platform and start sharing. I'm nostalgic, though, for the inherent ownership and creativity that was baked into the early days of the web.
Especially for kids! In passing, I think about how my future-kids will develop their own technical literacy. Impossible to say now, things continue to change so quickly. But, so long as there are platforms for them to get their hands dirty, play, and really mess around with what's under the hood, I'm sure there will be a way.
Calvin in the Tree House
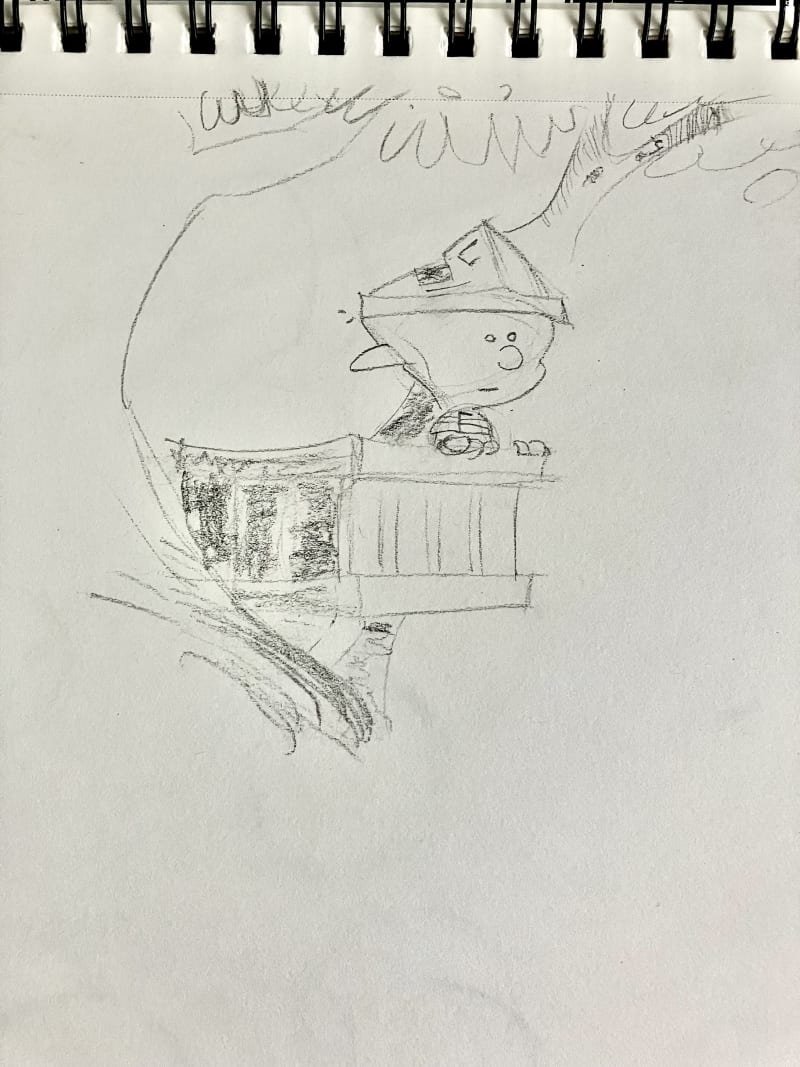
Study after Bill Watterson.
I've been reading Calvin and Hobbes. I grew up collecting lots of Garfield, but man, these comics are just so dynamic for a newspaper strip! 🐯
Dvorak — New World Finale
So TRIUMPHANT! 🌅 💪
Database Setup and Migrations for Microsoft SQL Server and ASP.NET Core MVC
I know this is old news at this point, but using Microsoft products on Mac (let alone an M1 machine!) is a wild concept to me! It's in the same vein as Superman & Batman in the same movie, or Mario and Sonic in the same game.
I'm getting familiar with ASP.NET Core 6.0 MVC. I've been able to get things up and running with primarily native solutions, much to my surprise! There are a few different paths I've had to take to get all the way, though.
The tl;dr: For .NET, favor the dotnet CLI over the Visual Studio GUI. For SQL, Docker is your friend.
To expand on it, here's how I handled getting my local environment set up to run a local Microsoft SQL Server for my web app:
Overview
The ultimate goal here is:
Here we go!
Running Microsoft SQL Server Locally
The solution on Windows for interacting with the Database is Microsoft's SQL Server Management Studio (SSMS). For Mac and Linux, we'll have to opt for Azure Data Studio.
That takes care of the GUI.
For running a server, this guide gets you most of the way there.
The caveat is that on M1, there's not great support for the image mcr.microsoft.com/mssql/server:2022-latest.
Instead, grab the Azure image:
$ docker run -e "ACCEPT_EULA=Y" -e "MSSQL_SA_PASSWORD=YOURGENERATEDPASSWORD" -p 1433:1433 -d mcr.microsoft.com/azure-sql-edge:latestThe -e "ACCEPT_EULA=Y" is important for accepting the terms and conditions before running.
The rest of the guide will take you through connecting to Azure Data Studio!
Creating Models
Assuming you already have an app template running, we'll add a new Model called "Book" to our project:
// Book.cs

using System;
using System.ComponentModel.DataAnnotations;

namespace LibraryMVC.Models
{
    public class Book
    {
        [Key]
        public int Id { get; set; }
        [Required]
        public string Name { get; set; }
        public int isbn { get; set; }
        public DateTime CreatedDateTime { get; set; } = DateTime.Now;

        public Category(string name)
        {
            Name = name;
        }
    }
}
A quick run down of some interesting points:
That's all there is to setting up the Schema!
Migrations
If you're used to MongoDB, this is where you would call it a day for setting up the schema. MongoDB doesn't require any enforced schema at the database level.
With SQL, however, we do have more setup to do there.
The excellent thing about this approach, coming from Express and Mongo, is that largely, the source of truth is still in our application. We'll simply setup a migration for SQL to mirror the schema from our Model.
A deeper Migrations Overview from MS is available on their site. For us, let's get into the quick setup:
First, ensure you have the dotnet CLI installed.
We'll use it to install the Entity Framework tool globally:
dotnet tool install --global dotnet-ef --version 6.0.16With that, you can then run this command to migrate:
dotnet ef migrations add AddBookToDatabaseAddBookToDatabase is what the migration will be named. You can call it whatever you like.
You may need to install extra Nuget packages before the command goes through:
Your startup project 'LibraryMVC' doesn't reference Microsoft.EntityFrameworkCore.Design. This package is required for the Entity Framework Core Tools to work. Ensure your startup project is correct, install the package, and try again.With the SQL server connected, Entity Framework will look at the models in your app, compare what's in the DB, and create the DB with appropriate tables and columns based on your models directory.
To verify all worked, you can check Azure Data Studio for the data, and look for a "Migrations" folder at the root of your application.
And that's it! All set to fill this library up with books! 📚
The Haps - June 2023
Summer time!!!
Blogging & Dev
Taking a slower pace with blogging, but still sharing my adventures in C# and .NET!
You can catch up with my tech projects through the Tech tag on my blog.
Music
I released Forest a while back! An experiment in playing with a few sounds from Ocarina of Time and Chrono Trigger!

I'm digging deep into learning finger style guitar. My favorite so far was this cowboy waltz I improvised on my new acoustic.
You can see what I've shared so far through the Music tag on my blog. I'm also sharing recordings on Instagram.
Drawing
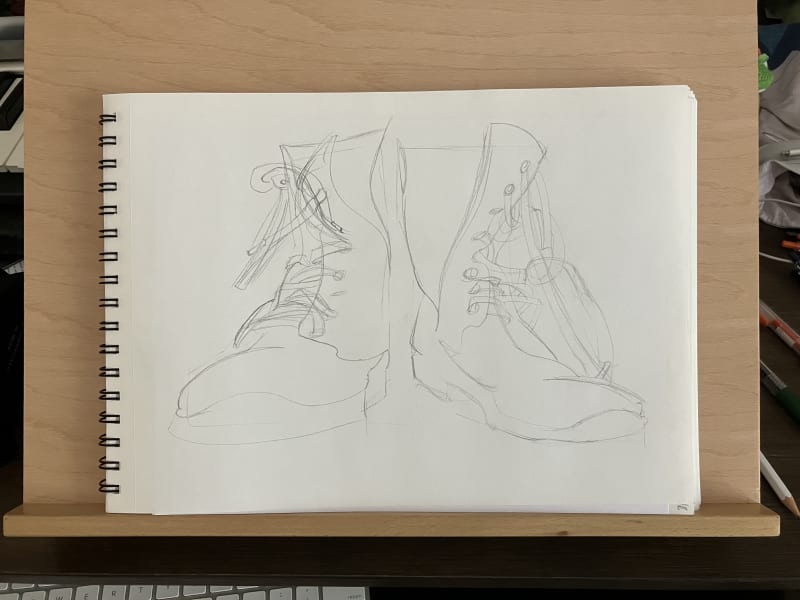
I finished my fourth sketch book! I'm starting to not treat them as precious and am really drawing loosely in them. It's great, very liberating!
My routine at the moment is studying other artists, drawing from imagination, and doing perspective / figure drawing exercises. Both from Proko and drawabox.
You can see what I've made so far through the Art tag on my blog. I'm also sharing drawings on Instagram.
Words and Sounds
📚
🎧
📺
Life
It's hot. I'm cold blooded. So I'm in my element! ☀️
Had my folks visit for Mother's day!! We had a good time exploring a few museums in Dallas and eating good food.

👋
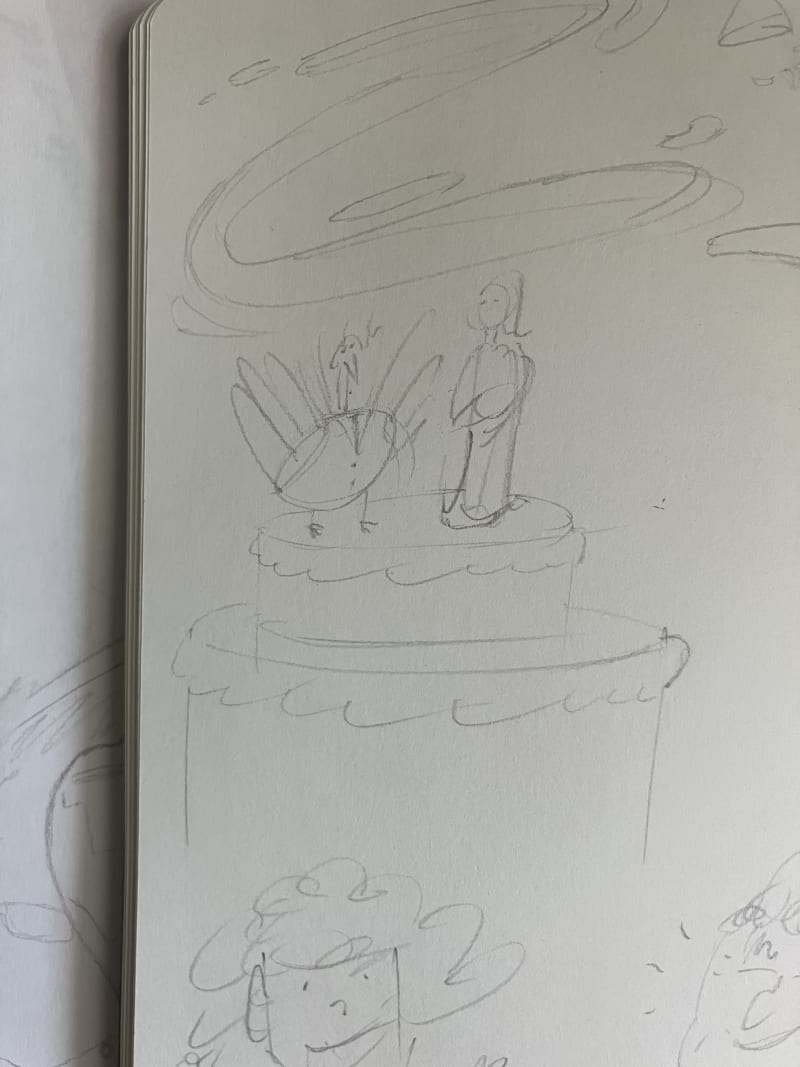
Turkey Groom
"Draw everyday," I said! "It will be a great way to enrich your memories!"
Yet, I couldn't tell you why I sketched a wedding cake with a turkey groom last week. 🦃
Faber — Whispers of the Wind
Sooooo pretty. Lots of fun cross-hands action going on!
This was one of those when I started piano lessons where I thought "I didn't know even the EASY pieces could sound so beautiful!" 🍃
Deploy New Projects Before Development (.NET Core & Azure)
That's a great bit of advice I got from a friend early on as a developer. This is especially true if your app goes beyond the hello world boilerplate.
For example, a couple of years ago I needed this advice because I was looking to create a MERN stack app with Express and React hosted on different services.
This week, I was in the same situation. I wanted to deploy a ASP.NET Core application that serves React on the client to Azure.
The road there involved starting projects with different versions of .NET Core, adding a missing config file, and finding the correct region and OS settings to get my app up on Azure.
By the way, the sweet spot for my solution was:
// web.config

<?xml version="1.0" encoding="utf-8"?>
<configuration>
  <location path="." inheritInChildApplications="false">
    <system.webServer>
      <handlers>
        <add name="aspNetCore" path="*" verb="*" modules="AspNetCoreModuleV2" resourceType="Unspecified" />
      </handlers>
      <aspNetCore processPath="dotnet"
                  arguments=".\MyApp.dll"
                  stdoutLogEnabled="false"
                  stdoutLogFile=".\logs\stdout"
                  hostingModel="inprocess" />
    </system.webServer>
  </location>
</configuration>
// WeatherForecast.cs
public sealed class DateOnlyJsonConverter : JsonConverter<DateOnly>
{
public override DateOnly Read(ref Utf8JsonReader reader, Type typeToConvert, JsonSerializerOptions options)
{
return DateOnly.FromDateTime(reader.GetDateTime());
}
public override void Write(Utf8JsonWriter writer, DateOnly value, JsonSerializerOptions options)
{
var isoDate = value.ToString("O");
writer.WriteStringValue(isoDate);
}
}// Program.cs
builder.Services.AddControllers()
.AddJsonOptions(options =>
{
options.JsonSerializerOptions.Converters.Add(new DateOnlyJsonConverter());
});You can imagine that, after putting hours into an application, only to realize that all of a sudden it's not finding its way on the web — that can be a major hassle. So getting the simplest version of the app possible, but with all the key components still in play, is a great first step in an iterative process.
Tillie Walden Study
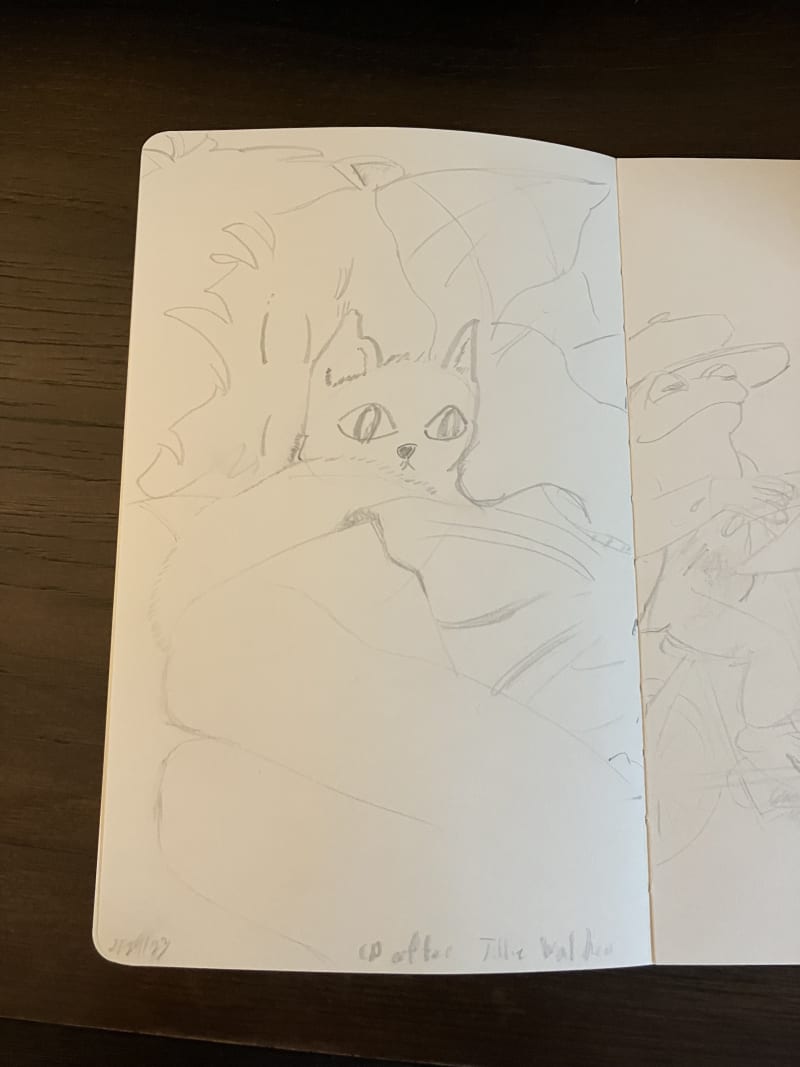
Line study after the amazing Tillie Walden from her book "Are You Listening." So wildly beautiful, you gotta go see the colors!
Also, a peak from Toad on the next page! 🐸
Aquarium Sketches
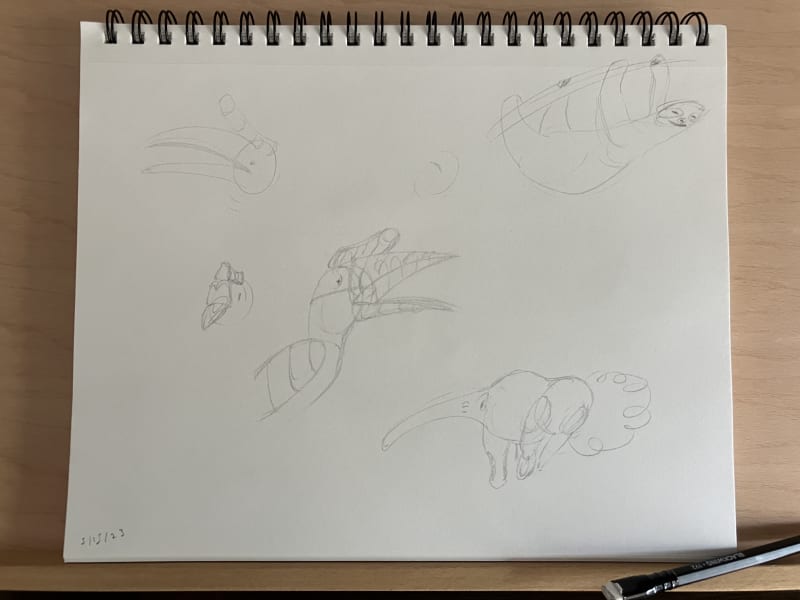
🦥 Animal sketches from a recent visit to the Dallas Aquarium... none of them fish, though!
E Minor Cowboy Waltz 🤠
Improvising a Dosey Doe in the ol' 3/4 🌵
Polymorphism Through Abstract Classes in C#
One of the 3-7 pillars of Object Oriented Programming (number depending on who you talk to) is Polymorphism.
What is polymorphism?
When designing classes, it's sometimes helpful to have parent-children relationships. A "Vehicle" class could have attributes like "Passengers," "Color," and "Speed". It can have methods like "FuelUp", "LoadPassangers", etc.
Deriving from that, we can then have child classes for Cars and Boats.
Here's what that would look like in C#:
namespace ChrisGarage
{
    public class Vehicle
    {
        private List<string> Passengers = new List<string>();
        public readonly string Color;

        public void LoadPassenger(string passenger)
        {
            // . . .
        }

        public Vehicle(string color)
        {
            if (String.IsNullOrEmpty(color))
            {
                throw new ArgumentException("Color String cannot be null");
            }
            Color = color;
        }

    }

    public class Car : Vehicle
    {
        public Car(string color) : base(color) { }


    }

    public class Boat : Vehicle
    {
        public Boat(string color) : base(color) { }


    }
}
Easy!
So that's inheritance, but it's not quite polymorphism. Polymorphism is the manipulation of the inherited classes to suit the needs of the children classes.
Continuing with the vehicle example, it's safe to say that all vehicles move. They'll need a "Move" method.
But a car does not move in the same way a boat moves!
We could define those separately on the children. But it's safe to say, if it's a vehicle, we expect it to move. We want the vehicles to conform to that shape.
Why? Say we're iterating through a list of vehicles and running the move method on them. We want to be sure that there is a move method.
We can enforce that through the abstract and override keywords.
// Declaring class as abstract, in other words, incomplete.
    public abstract class Vehicle
    {
        private List<string> Passengers = new List<string>();
        public readonly string Color;

        public void LoadPassenger(string passenger)
        {
            // . . .
        }

        public Vehicle(string color)
        {
            if (String.IsNullOrEmpty(color))
            {
                throw new ArgumentException("Color String cannot be null");
            }
            Color = color;
        }

        // Adding the move abstract
        public abstract void Move();


    }

    public class Car : Vehicle
    {
        public Car(string color) : base(color) { }

        // Writing custom car algorithm
        public override void Move()
        {
            Console.WriteLine("Drive");
        }
    }

    public class Boat : Vehicle
    {
        public Boat(string color) : base(color) { }

        // Writing custom Boat algorithm
        public override void Move()
        {
            Console.WriteLine("Sail");
        }
    }
On the parent, we set the class as abstract and include an abstract method to signal that we want this method to be completed by developers designing the derived classes.
On the children, we use the override keyword and do the work of deciding how each vehicle should move.
A note on abstract: If you wanted to provide some base implementation, you could use the virtual keyword instead and write out your procedure. Virtual also makes overriding optional.
You then can decide to call the base class's Move method, the way that we do here for the Draw method:
public class Rectangle : Shape
{
    public override void Draw()
    {
        base.Draw();
        Console.WriteLine("Rectangle");
    }

}