Chris Padilla/Blog
My passion project! Posts spanning music, art, software, books, and more. Equal parts journal, sketchbook, mixtape, dev diary, and commonplace book.
- fires of concurrent tasks through a Distributed Map
- Siphon off select tasks to an SQS for a separate, limited process.
- Return the SQS results to the original step function with a task token.
Marching In Step
Many varieties of creative work require a great deal of solitude. Some like software, writing, composing, and art, are often done without an audience when performing.
It's possible to do any creative act collaboratively. But, I've been realizing lately how important it is to intentionally find time for synchronized movement.
The move towards working from home, collaborating with people online, and the flexibility to live and work anywhere is undoubtedly a net positive. It's just that we have to be really intentional about carving out time for connection. Not just being around people, but finding activities where you are "marching in step" with other people.
We are literally wired for it. Jonathan Haidt in The Happiness Hypothesis explores the energizing feeling we get from being in synch:
...rituals that involve repetitive movement and chanting, particularly when they are performed by many people at the same time, help to set up "resonance patterns" in the brains of the participants that make this mystical state more likely to happen.
Oliver Burkeman poses the unique position we're in at this moment in time. Amidst asynchronous work as a writer, he highlights the impact of even ordinary synchronized activity:
I've felt it as a member of a community choir, when the sharp and flat tones of amateur voices combine into a perfection that few of the singers involved could attain on their own... For that matter, I've felt it in settings that are even more mundane—working my monthly shift at the food cooperative, for example, slinging boxes of carts and broccoli onto the conveyor belt, in time with other workers I barely know but whit whom, for a few hours, I share a bond that feels deeper than the one I have with some of my real friends. For a while, it's as if we're participating in the communal rhythms of a monastery, in which the synchronized hours of prayer and labor impart coherence and a sense of shared purpose to the day.
Both books above reference Keeping Together in Time by William McNeill, a whole exploration on synchronized movement across human history.
For men in particular, who seem to have a knack for distancing themselves in their relationships (guilty as charged), those moments of connection happen in spaces that require coordination. Here's James Hollis on the subject in Under Saturn's Shadow:
There are few things more rewarding than for a shortstop, deep in the hole, to turn and throw the ball toward second, and see the second baseman intersect base and ball at the exact moment. This is less about practice than about the integration of spirit, the communion of soul. Perhaps this rare sense of oneness is possible in part because the outer challenge occasions a transcendence of the individual ego to serve the joint purpose...
No matter what, true solitude is required and desired. Nourishment is given, soil is enriched, and roots take hold in solitude. And still, it's a dance.
This morning, I was talking with Miranda about a music workshop from high school. In reminiscing, I came across this passage from The Musician's Soul by choral conductor James Jordan. This touches on that dance quite nicely:
Few of us are fortunate enough to be able to understand the rich alchemy that happens when there is a balance between true solitude and true community in one's musical interactions and one's life interactions. Most of us exist as a wild pendulum that swings almost uncontrollably between loneliness and the crowd. This dynamic inertia manifests itself in the music we make, or rather the music we try to make. As musicians, we constantly and dynamically exist in the atmosphere of a larger community. That large community can be defined as small as one or extended to hundreds. The relationship with an accompanist is community. The relationship with an audience is a community....Human beings communicating directly with one another through 'great things' speak powerfully and with one voice. A musician's soul can be explored individually, but it can only grow and deepen through the nourishment of connectedness at every moment. Without the lifeline between souls, there is no art, and more importantly, perhaps, no real life or living.
Join a cycling class! Make time for pair programming! Go to a swing dance class! Take up accordion lessons! Especially if you work remotely, find ways to return to the hive and move together.
For creatives, carve out a part of your practice that requires being in the room with other people and creating together. For me, it's playing in a community concert band. For artists, it could be something as simple as painting in a class together.
At the end of the day, we create to be a part of something larger than ourselves. Contributing to a scene, a creative lineage, an industry, a craft, a culture. What could enhance that more than creating in true community?
Antônio Carlos Jobim – Once I Loved
Because love is the saddest thing when it goes away~
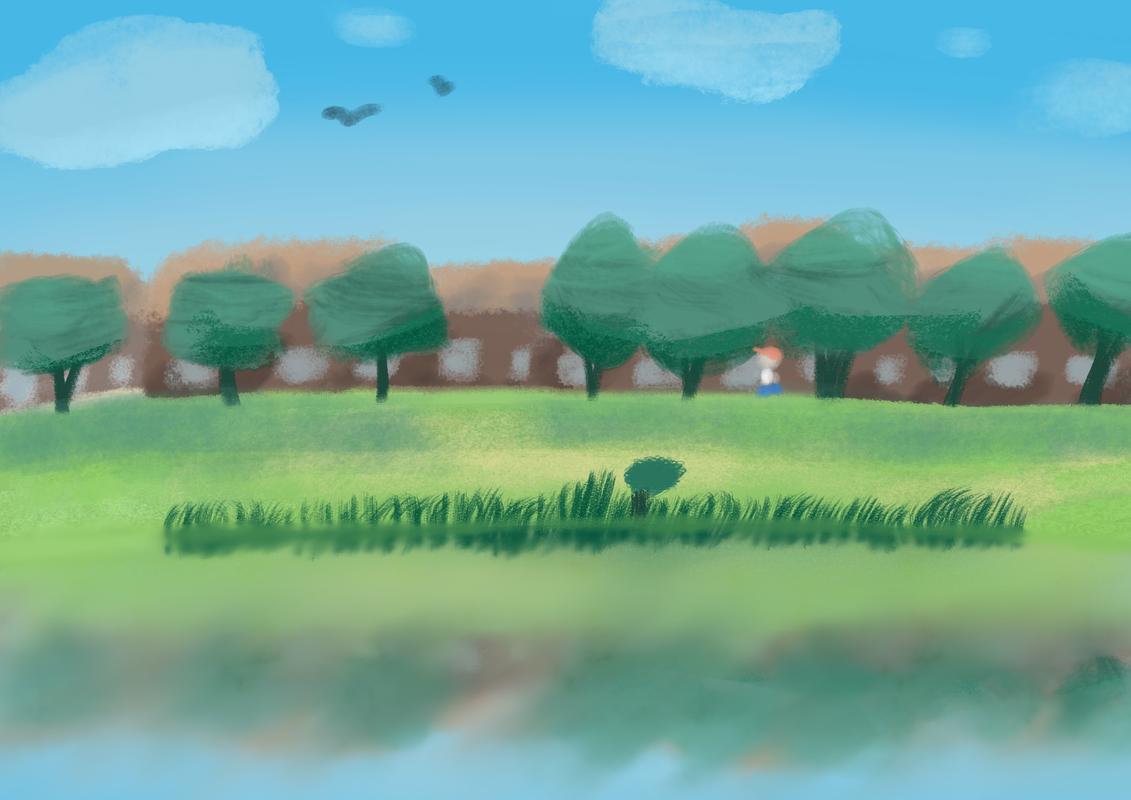
Gentleman Frog Surveys the Pasture
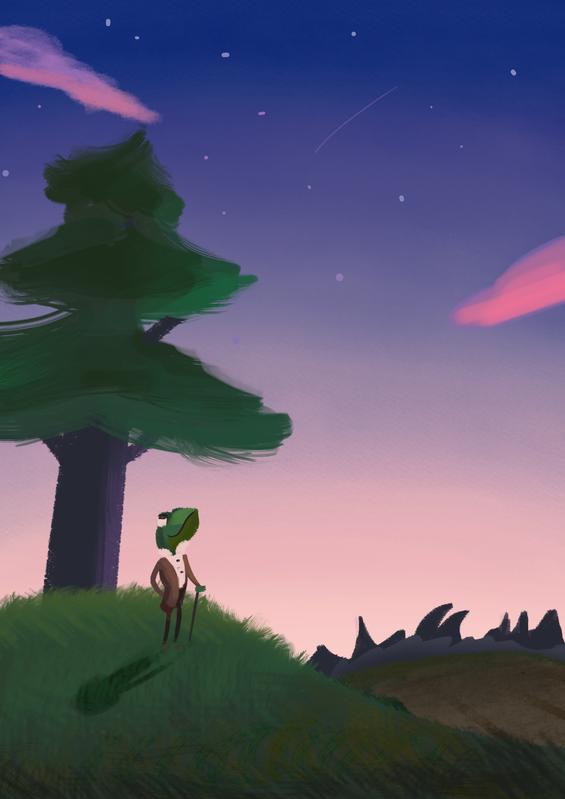
As the crisp autumn air starts to roll in. 🍂
Street Light
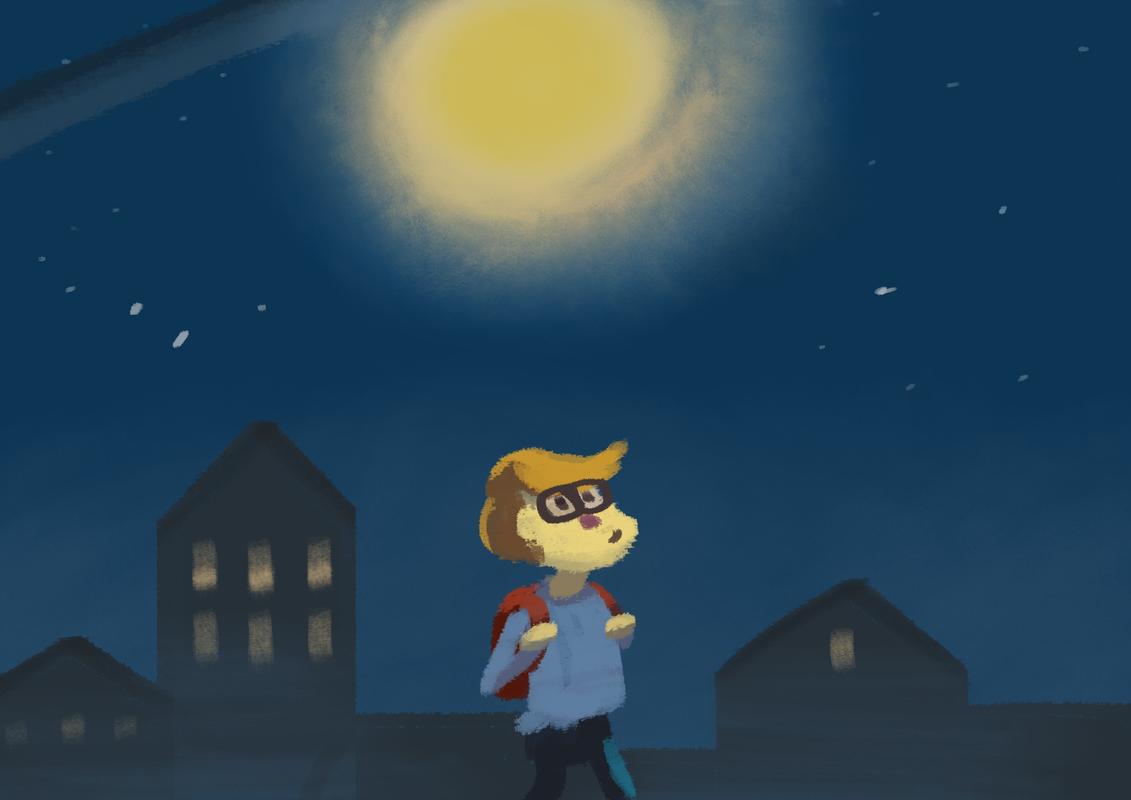
Fond memories of wandering quiet streets late at night. 🌙
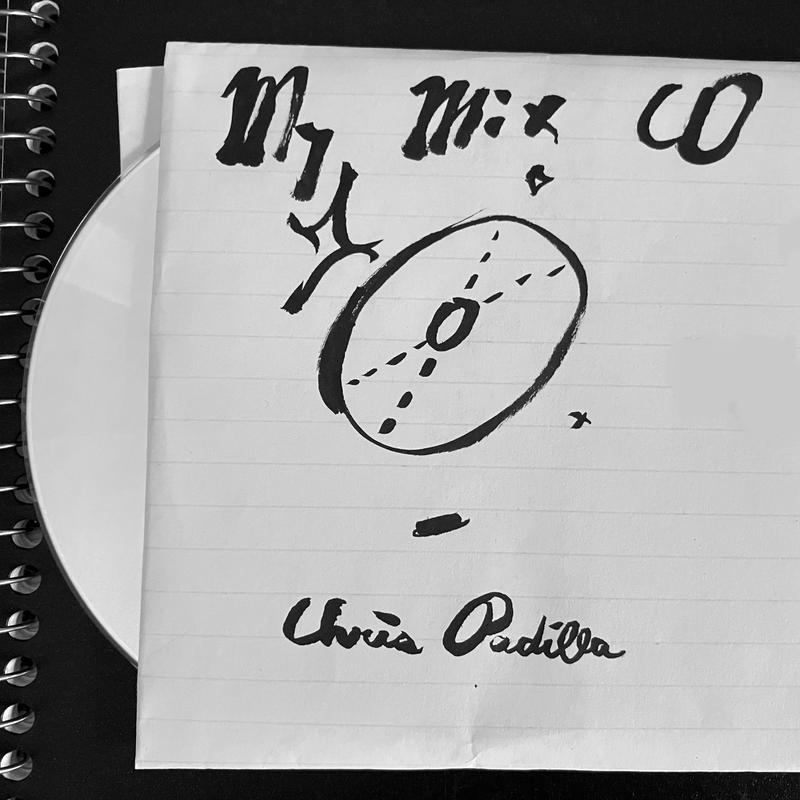
New Album — My Mix CD 💿
All The Things You Are Comping
Working on leaping through chords!
Lessons From a Year of Painting
I had a blast spending time creating digital paintings this year!
A couple of years ago, I was overcome with the desire to really learn to draw. I made crude comics as a kid, but I was itching to really figure out how it's done. And so I did, and I learned a lot about art and creativity from it!
This year I turned my focus to the world of color and texture through digital painting. It was quite the leap! From single toned, line driven analog art making in a sketchbook — over to color and shape based painting through a digital medium.
Much of what I have to say this year is a revisiting of ideas I came across last year. Only this time the context has changed. A bit of a variation on a theme!
Changing the Way You See the World
I also love to listen to skaters talk about how they see the world. Skateboarding seems to reconfigure your molecules and changes the way you look and the kind of attention you pay to the world. (Exactly what we hope for when practicing any art.)
Drawing with line art, especially in a stylized way, involves a great deal of abstraction and reduction. I spent time simplifying a form to only a few strokes and basic shapes. It changed how I saw the world. But more in a way of capturing shorthand. I was looking for the simplified essence.
Learning to see color through painting had the exact opposite effect! When I started studying color and light as well as doing direct-painting still lifes, it's as if I was starting to see for the first time.
A pot is just "orange" until you take a closer look at the texture, the lighting, the chips and smudges across its surface. There's a humbling amount of color in everyday life that gets simplified and overlooked.
Miranda and I went to a couple of art museums this year. Paintings are already captivating when you're not an artist. They're then astonishingly rich and awe inspiring once you know the attention to detail that goes into them!
The process of painting is great fun. Though, my favorite takeaway from picking up the craft is now how I see the world. You won't believe how something as simple as looking into someone's eyes will bring out a world of beauty hiding in plain sight!
Balancing Projects with Play
After a few years, I've largely gotten better about balancing play and study. The boundary for me has become really clear since painting has been an entirely new medium requiring lots of study, master copies, and reading up on how the brush engine works.
Even still — When I work on a digital painting project for myself, I'd call it play. But it's not entirely in that category. I realized something was missing.
It wasn't until I picked my physical sketchbook back up and started fooling around that things clicked into place. Unsurprisingly, having an analog, private, free space with no large end goal helped keep my spirit up when I returned to the digital canvas.
I've since deviated from needing a hard boundary, a la the 50% rule. These days my energy level is a good indicator of whether today is painting day or a fool around in the sketch book day.
If I were to package this up into advice: Be mindful of the project driven work, study, and time spent fooling around.
Actually, that lines up nicely with Robertryan Cory's recommended routine for artists from his CalArts lecture: "Educational, Disciplinary, Experimental. Drawing should be divided into a sustainable work routine."
In Pursuit of Truth
In music, the major scale is derived from the harmonic series: a natural occurring phenomena that represents mathematical divisions of any given frequency. (For one of the best demonstrations of this, look no further than the Bernstein Norton Lectures.)
It's a major reason why tonal music is universal. It's what makes music a pursuit of Truth. In Harmonic Experience, W. A. Mathieu walks readers through singing exercises where you experience the balance of these sounds firsthand. It's an eye opening journey.
I'm not as well-read on light as I am acoustics, but I know this much: colors themselves are different wavelengths of light. Violet is a short wavelength, red a long one.
It's one thing to know that intellectually. And a wholly other thing to experience it.
At some point, after working at a still life, spending an hour closely trying to match the color of a dull pot, I stepped outside. It was a clear day, mid afternoon. A rich blue sky, I observed. High in saturation today.
As my gaze came downward, I saw the leaves on the tree. And while it's hard to explain in writing — a resonance occurred. I started seeing the green of the leaves as a continuation of the blue in the sky. Not in an intellectual way, but on something much more deep and personal.
In the same way that each tone of music contains a multitude of different sounds, I made the connection that light was working in that same way. Obvious to some, I'm sure, but a revelation to me.
There are plenty of reasons to paint. Maybe one of the most worthwhile, though, is that — just like studying sound — you spend time with another Truth in the world. This time, through color and light.
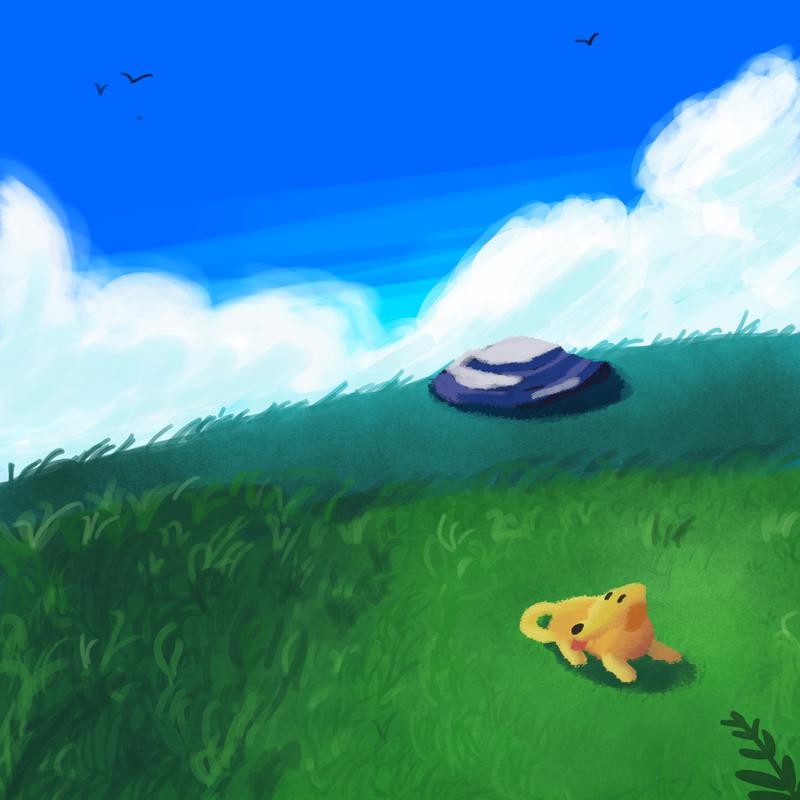
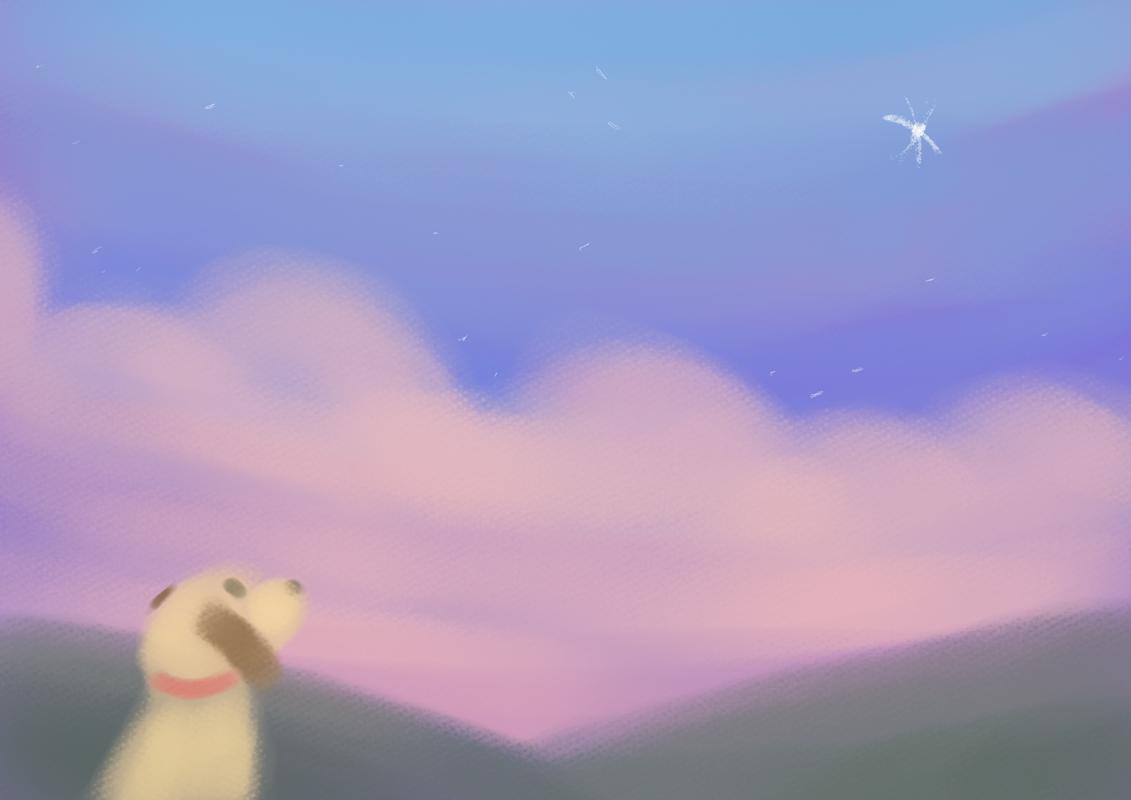
Blue Sky Thinking
Lucy dreaming up the next big adventure!
Orchestrating Concurrent Tasks in AWS Step Functions
The straight ahead way of using AWS step functions is to daisy chain lambda after lambda to accomplish a task.
Naturally, apps and workflows can get more complex. There can be a need to limit the number of concurrent tasks. Or, inversely, the need to run massively concurrent tasks at once and then resolve them.
Below are a few tools to orchestrate workflows with added complexity.
SQS
AWS Simple Queue Service is just that: A message queueing system that can hold messages for you and send off data when resources are made available. You can tie a lambda function to an SQS as a trigger. In that case, when a message comes through and is ready for consumption, the lambda function can take the message and do work from there.
An important piece here is that you can limit the number of concurrent functions at any given time while also holding on to impending tasks. If you need to limit a task to 100 concurrent calls, this is where you can do it.
Distributed Map
One possible state type in Step Functions is "Map". Map allows your step function to take a piece of data and iterate over it with an assigned process.
Previously, inline maps had a limit of 40 methods at a time. For a much more powerful implementation, switching to the distributed mode allows for up to 10,000 parallel executions.
The key role a distributed map step will play is in allowing for the whole computational process to still be contained within the step function.
Since I introduced the SQS above, one possible solution is simply to pop my list of data into an SQS without the concurrent limit. However, if you need to finalize and process the result from those individual computations, coordinating their completion and status manually can become complex.
With Distributed Maps, you still have the benefit of massive concurrent computation, while also having the benefits of efficient resolution and simple orchestration.
Callback with Task Tokens
While distributed maps allow controlled parallelism of a dynamic number of functions, introducing SQS adds an extra layer of variability. We don't know when our message sent to SQS will be fired and concluded.
Say I send a message to SQS in the middle of my step function and am dependent on the returned results. How can I instruct my step function to wait for those results?
Callbacks with Task Tokens are the answer. The idea is that by setting our state resource to arn:aws:states:::sqs:sendMessage.waitForTaskToken, we can instruct our step function to pause here. When sending a task token to SQS along with our payload, on completion, we can send a success or failure message back to our step function. When it comes with the original task token, AWS knows to then continue the initial step function with the returned results.
Putting It Together
With all of the above, you can handily stitch together a workflow that:
Jimmy Van Heusen – Polka Dots and Moonbeams
View from the Desk
The scene I wake up to. 💛
Garage Improv 1
Getting back in the saddle 🎷
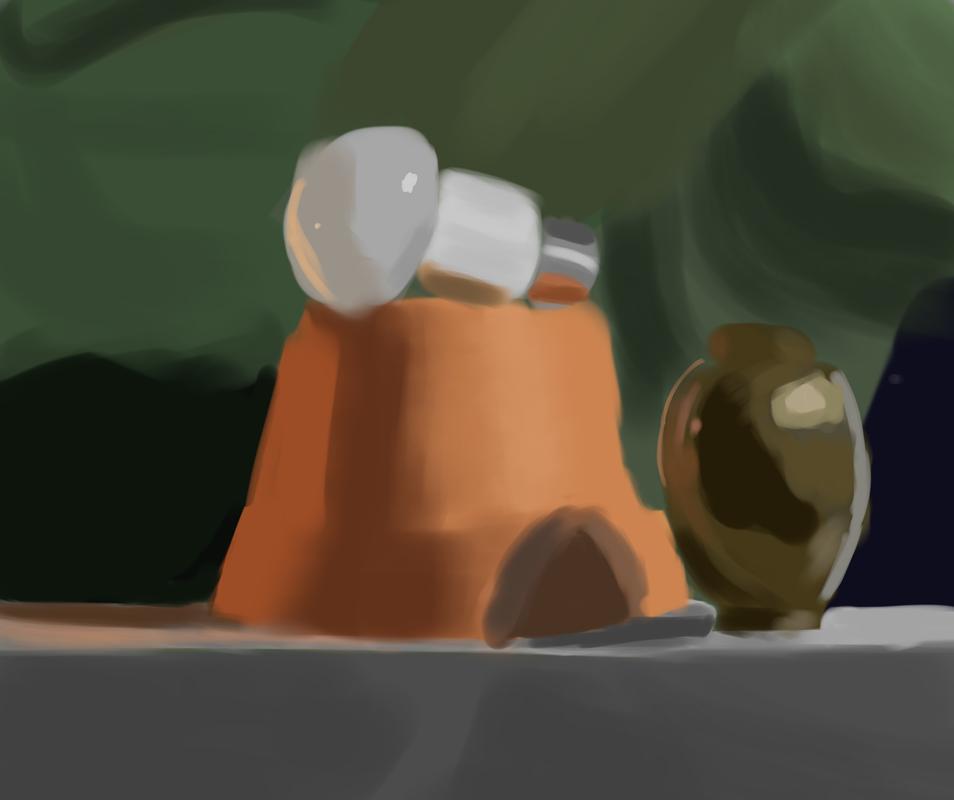
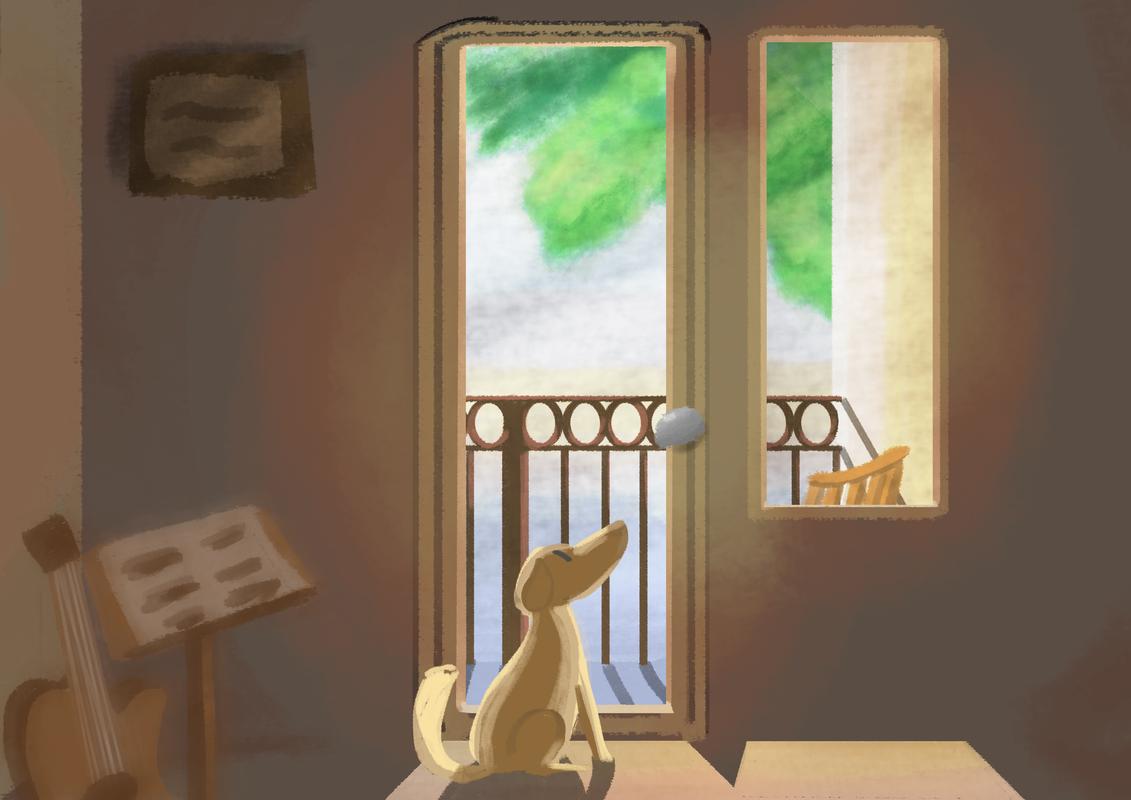
A Cheesy Oasis
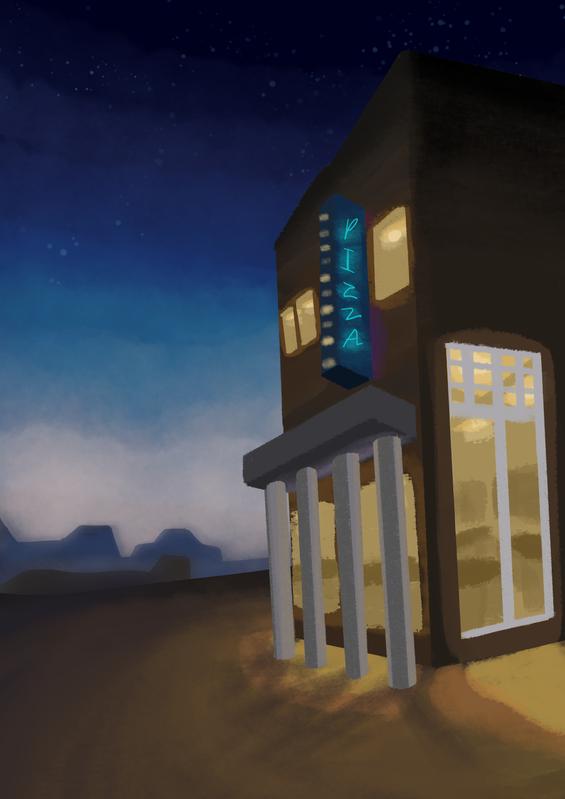
🍕🌵
Hoagy Carmichael – Skylark
Mountain Top Views

⛰️