Chris Padilla/Blog
My passion project! Posts spanning music, art, software, books, and more. Equal parts journal, sketchbook, mixtape, dev diary, and commonplace book.
- High-stakes work (giving a performance, recording)
- Busywork (repeating a passage over and over)
- Mental work (arranging and voice leading)
- Physical work (eh, it depends here. I've played music that makes me sweat, but let's just say that the motor skills used are close enough)
- Discovery work (learning new pieces or genres)
- Teamwork (collaboration)
- Creative work (composing)
Low Poly Feathered Friend
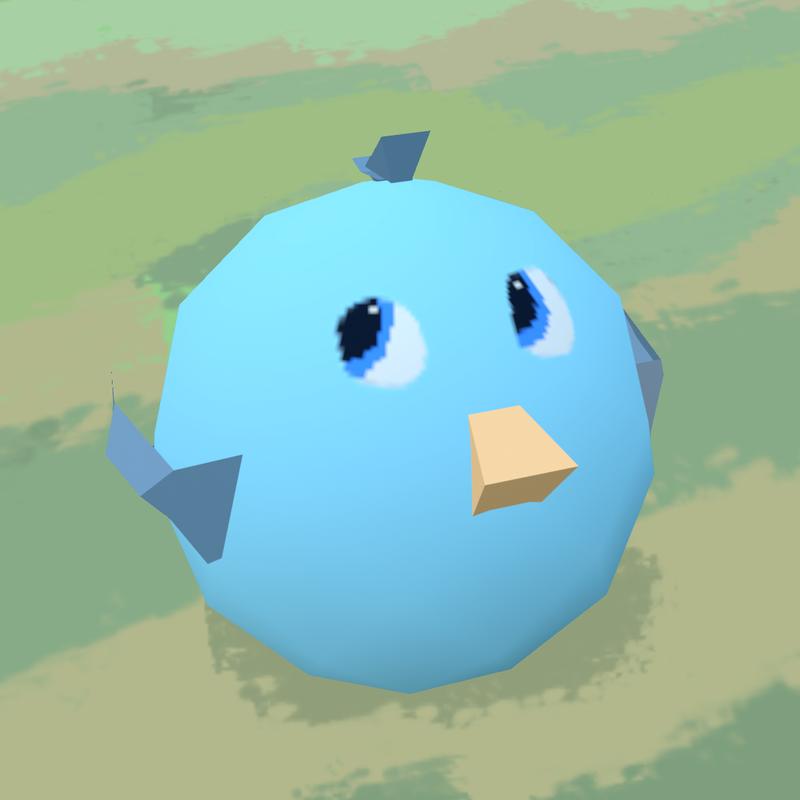
More experimentations in 3D
Compass
Some mediums are steeped in tradition and mastery oriented.
The map to success there is very clear. Practice your scales, play loads of rep, spend years studying the masters, and you will arrive at a marked destination.
Say, however, as a violinist, you want to take on writing a wholly new kind of music. You then explore genres — latin, jazz, folk, country, drum and bass, etc. Each of those genres has their own map. Their own guide posts for performing in the style so you pick up a few more and follow the maps as far as you'd like to go.
Once it comes time to write, though, the maps disappear.
There are perhaps other people you can gather inspiration from, they can tell you the paths they took, the rivers forded, and the shortcuts they found. But, at some point, it's time to let go of map following and brave the forest.
What guides you then?
Having followed a few maps, you likely have some skill in navigating tough thickets and rushing rivers. Direction, however, is not so clear.
At this point, it's time to reach for a compass. An intuitive, unseen force gives direction without showing the way.
It's risky. A direction doesn't guarantee a destination. A cluster of stars only suggests what could be on the other end of sailing a certain way.
But that's where the adventure is.
Unlike solely map following, there is no final destination. The journey becomes the destination. And the road goes ever on.
All By Myself
All by myself in the morning~
All by myself in the night...
Arranged by Frank Vignola.
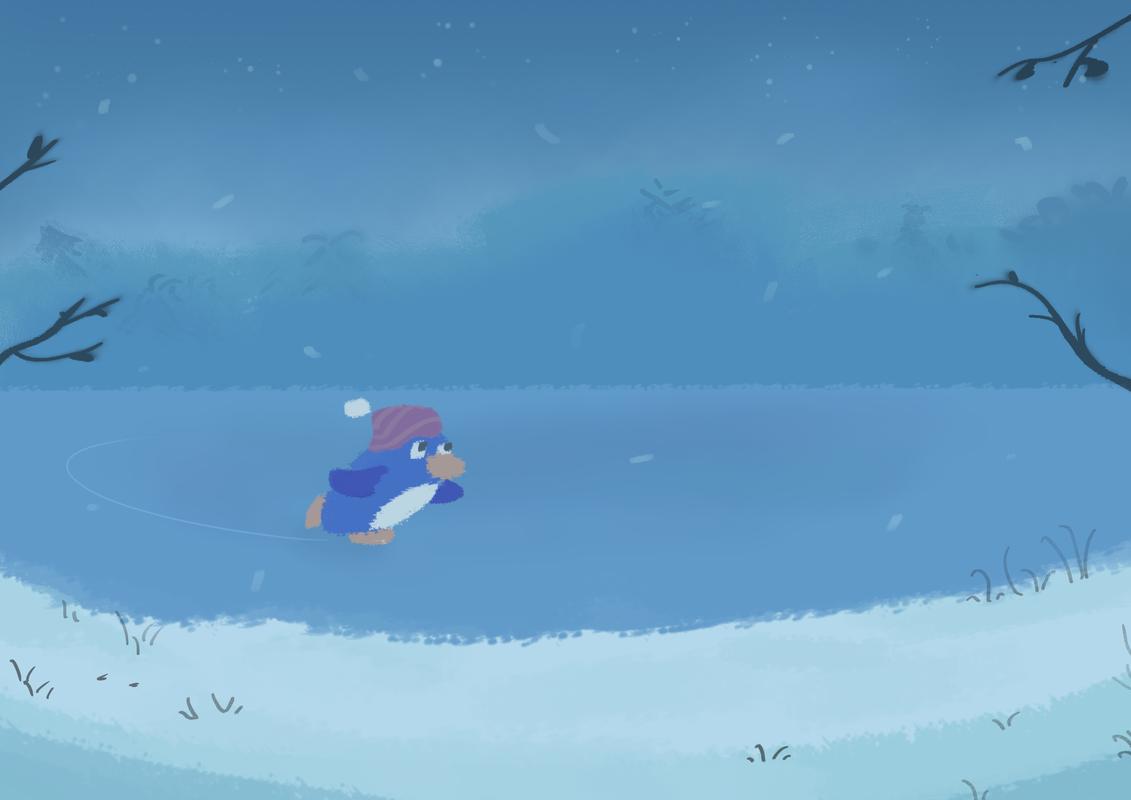
Skating
Are Document Databases Schemaless?
From "Designing Data-Intensive Applications" by Martin Kleppmann:
Document databases are sometimes called schemaless, but that's misleading, as the code that reads the data usually assumes some kind of structure—i.e., there is an implicit schema, but it is not enforced by the database. A more accurate term is schema-on-read,... in contrast with schema-on_write (the traditional approach of relational databases, where the schema is explicit and the database ensures all written data conforms to it).
An interesting point that plays devil's advocate to one of the most popular features of choosing a document-based db solution such as MongoDB. I have yet to work in a data scenario where there's not a schema being set either by the relational database, the ORM, or through validation methods such as Zod or types.
When we hear schemaless, the main benefit we're looking for is the ease of adjusting the schema as the application evolves.
However, Martin goes on to highlight that both document and relational databases are capable of adjusting their schemas. Application devs will be familiar with simply adjusting the code for different scenarios at data read time. (For example: A new field is added to the schema. Code can ignore documents that are missing the field.) To accomplish this, relational databases perform migrations to convert all entries to the new schema. Either one can suit the needs of your application and its data.
All this certainly doesn't mean document DB's are a bad choice. It's just worth highlighting that, unless you truly are storing documents with a non-uniform data structure within a given collection, the schemaless nature is not a primary benefit of document DB's for you. Perhaps it's simply that you prefer adjusting the schema in the application code rather than migrating the DB schemas.
Library Music
I watched a fascinating exploration of Library music's influence on modern music artists by Bandsplaining. My favorite bit:
The fact that library music was consumed subconsciously, building models of how you think, makes it an exceptionally powerful tool — Lulling you into a decades-old state of mind.
When talking to an artist about their influences, the most enthusiastic will drop specific names and bands.
(Allow me to over romanticise commercial music for a moment:)
There's something, though, to being influenced by a time and a place. That subconscious introduction — the music taken for granted, where you don't know the composer and you're not aware that you're listening to a song — in a way that sort of music can be more powerful because it's not relying on its own merits for impact and communication.
Some opinions would put music-for-music's sake on a pedestal as the truest form of the medium. Perhaps so. However, I seem to find myself drawn more and more to the music that played just a part in a greater whole of creating a mood and atmosphere.
Even if it was weather channel music.
How a Gif Changed My Life
It's February 2019 - 6 years ago from me writing this.
I'm in my first year of music teaching, fresh out of grad school, and in a bit of a rut artistically.
The normal medium didn't seem to fit as it did before. Practicing also felt more laborious than usual, even though I had technique to spare. I had reached a peak on the creative mountain. Instead of living happily ever after, I found myself continuously asking, "What next?"
So I was sifting through Twitter when this popped up:
You may look at this and think "how cute!" or "hah, funny!"
But I had a moment!
Seeing this, everything about it hit several aesthetic sweet spots for me! And then, of course, the fact that in an instant, it created an atmosphere and a story, all with very simple melodic and visual lines — that was something else!
Is that crazy to say?! Over a silly little animation?!
I won't be shy about saying that I think Louie Zong's work is phenomenal! Expressive, loose, playful, and never-ending in output.
And while the aesthetic and subject matter may or may not light you up in the way it did me, I think there's something deeper that struck a chord with me.
Louie is prolific — Sharing something artistic nearly every day - mini albums, small games, remixes, sketches, short animations. You might be tempted to see that and think "This guy works really hard!" You may have also said that seeing me practice in music school. And certainly — I was working.
Louie, however, is very clearly playing very hard! Or rather, playing effortlessly!
That is what changed the game for me.
Ever since, I've maneuvered through a career change, transitioned my artistic medium, and redefined my relationship to creativity so that it can be uninhibited play.
I'm sharing this story for a few reasons:
First, it's a funny anniversary, but it's the anniversary of a significant moment. So it's timely! And it's been quite a while since I was struck by that lightning bolt of inspiration. I'm amazed at how much closer I've come to living a creative practice I only dreamed of just a few years ago. That's worth celebrating! 2019 Chris would be ecstatic!
I also think it's worth highlighting that, more important than what you practice as an artist, is the spirit behind it. I know coders who carry this same joy and enthusiasm in their work as engineers. I still know classical musicians who are just as light in their work. I can also say that, while I loved playing sax and teaching, there's an even greater joy and sense of adventure behind art, writing music, and software!
I'm also sharing in advocacy for art as deeply important. Pieces are the artifacts that come from a life lit up and inspired by the daily wonders in the world. Ultimately, artists have to create a piece of what they find interesting. Maybe that sounds self-centered. But that interest comes from a place of wonder in something beyond ourselves. So sharing art is a wholly generous act — with the potential to light up a life.
Whatever that resonance is for you, I hope you continue cultivating it.
I Cover the Waterfront Chord Melody
I cover the waterfront,
I'm watching the sea~
Will the one I love be coming back to me?
Arranged by Frank Vignola.
A Patient Pup

A good girl. 💛
My Notetaking Flow
I'm a notes nerd, as should be evident by this blog. Everyone's style is different. Here's mine:
Balancing Physical and Digital
Both have their pros.
Digital notes are searchable, easy to reorganize, tag, group, link back to, and edit. In my case, a huge benefit is that I can actually read what I wrote later. (I have terrible handwriting.)
Physical notes, however, encourage a different kind of writing. It's more free, loose, and sketch-like. Since it's so far away from where a finished essay would land, it feels much more organic. It's easier to get emotions out on a physical page than a text file.
Something about brainstorming is easier on paper as well. I used to be a big fan of huge sketch pads for ideating. Something about moving the arm and laying things out broadly really makes the material feel alive.
I know some people swear by keeping most of their notes and organization in written systems like the Zattelkasten system. The only problem for me is that, compared to digital tools, organizing physical media is cumbersome. I know some people find it therapeutic. But it's not for me, personally.
Balancing Organized and Free Flowing
If your notes aren't a mess, you're doing it wrong. Not everything that you commit to writing should be organized the moment it flows from your fingers. It's highly necessary that a part of your note-taking process be a mess. It simply clogs up creative space if you think about form right from the get-go.
For me, handwriting is great for this. I used to keep a notebook, but then I'd get precious about it. Now, I use printer paper, legal pads, and sticky notes.
It's not important that these notes are organized. They're oftentimes stream of consciousness. Once an idea needs to be cleaned up, then it will move to another system, such as a markdown file or a draft on my blog.
Then, the organization happens. I can tag pages, place documents in specific topic folders, link to other areas, and edit to my heart's content.
I'm taking the time to explain this because, for a long time, I thought note keeping and journaling was supposed to be highly organized from the start. I blame bullet journal Instagram accounts and social media Sketchbook tours of what are essentially portfolio pieces.
Sometimes, I'm able to stay loose in a text editor. It's not a hard and fast rule. The important thing is the spirit of a sketch, digital or physical. (Marshall Vandruff and Stan Prokopenko have a nice long discussion that ends with the same conclusion.)
Whatever your system, if I can give you one takeaway, it's to be sure that you have space to keep things loose.
Full Page Video Across Devices with React
Video on the web takes special consideration. It can be a heavy asset for starters. Due to that, if the video is a stylistic element on the page rather than the main focus, you'll want to have a fallback available while the video loads. And on top of it all, playback behavior may be different between browsers for mobile and desktop environments.
When pulled off, though, they are an attention-grabbing style element. Background videos playing on hero sections of landing pages can set a strong tone right from the start of a user's visit to the site.
Today, I'll share what I've learned while working with my own full-page video project. We'll tackle all the challenges and get a simple 8-second loopable video working across devices.
Accounting for Devices
Before setting up the elements, I want to do some groundwork. I'll need to account for two environments: mobile and desktop. In my case, I want a vertical video playing in a mobile setting and a horizontal video playing on desktop.
To detect this after the component has mounted in React, I can reach for a library to handle getting the window width. Let's go with useHooks/useWindowSize
const FullPageVideo = ({
  verticalVideoSrc,
  horizontalVideoSrc,
  verticalBgImageSrc = '',
  horizontalBgImageSrc = '',
}) => {
  const isPlaying = useRef(false);
  const videoRef = useRef();
  const videoRefTwo = useRef();
  const pageLoaded = useRef(0);
  const [showPlayButton, setShowPlayButton] = useState(true);
  const { width } = useWindowSize();
  const [mediumSize, setMediumSize] = useState(false);

  // . . .
}
This isn't necessary, but for my case, I don't need the page to be fully dynamic. I only need the check for window width to happen on page load. So I'm also using a pageLoad count to keep track of rerenders.
I'll then add a useEffect to handle updating the state of the app based on the width.
  useEffect(() => {
    if (pageLoaded.current < 2) {
      if (width > 800) {
        setMediumSize(true);
      } else {
        setMediumSize(false);
      }
      pageLoaded.current += 1;
    }
  }, [width]);
With that in place, let's get the JSX written for the actual page elements:
 return (
    <div className="album-story">
      <div className="album-story-page">
        <div
          className="album-story-video-wrapper"
          style={{ display: mediumSize ? 'block' : 'none' }}
        >
          <div
            className="album-story-bg-image"
            style={{ backgroundImage: `url('${horizontalBgImageSrc}')` }}
          />
          <video
            preload="none"
            loop
            muted
            type="video/mp4"
            playsInline
            ref={videoRef}
            className="album-story-video"
            key={horizontalVideoSrc}
          >
            <source src={horizontalVideoSrc} type="video/mp4" />
          </video>
        </div>

        <div
          className="album-story-video-wrapper"
          style={{ display: mediumSize ? 'none' : 'block' }}
        >
          <div
            className="album-story-bg-image"
            style={{
              backgroundImage: `url('${verticalBgImageSrc}')`,
            }}
          />
          <video
            preload="none"
            loop
            muted
            type="video/mp4"
            playsInline
            ref={videoRefTwo}
            className="album-story-video"
            key={verticalVideoSrc}
          >
            <source src={verticalVideoSrc} type="video/mp4" />
          </video>
        </div>
        <div className="album-story-play-button-container">
          <CSSTransition
            in={showPlayButton}
            timeout={2000}
            classNames="fade"
            unmountOnExit
          >
            <button
              className="album-story-play"
              onClick={onClick}
              disabled={isPlaying.current}
            >
              play
            </button>
          </CSSTransition>
        </div>
      </div>
    </div>
  );
Note that I have two video elements on the page: horizontal and vertical.
This seems like it could be a tradeoff. I'm opting to render both elements to the page, but am only hiding them by CSS. Wouldn't this lead to poor performance on page load if I try to download both videos to the browser?
The way around this is pretty simple: Adding preload="nnone" to the video tag will keep the video from automatically loading on the page.
There are tradeoffs there. It means a delay in the playtime of your video. The option starts loading the video once the play button has been pressed.
A more sophisticated solution might be to use a service such as Cloudinary that will dynamically generate your video from the server. Generated videos can be cached and served up quickly. Not a sponsorship for their service, but just a consideration.
In my case, I'll take the tradeoff. The video is only 8 seconds long and loops, so I'm not too concerned about load time.
Fallback Images
Likely, this is not as necessary since I'm not autoloading videos. However, on iOS Safari, I did find that the video image would not show on load. So I needed a fallback image.
This is accomplished with simple overlays in CSS:
.album-story-bg-image {
  z-index: -1;
  background-size: cover;
  background-position: center;
}

.album-story-page {
  flex-grow: 1;
  flex-basis: 100%;
}

.album-story-video,
.album-story-play-button-container,
.album-story-bg-image {
  position: fixed;
  left: 50%;
  top: 50%;
  transform: translate(-50%, -50%);

  object-fit: cover;
  width: 100%;
  height: 100%;

}

.album-story-bg-image {
  z-index: -1;
  background-size: cover;
  background-position: center;
}
Playing the Video
There are guardrails in most browsers to prevent autoplaying media when loading a page. Any video or audio is dependent on user interaction to occur first.
There are ways of working around this in certain cases. For video in particular, you may be able to get a video autoplaying if the video is muted. Mozilla has a great deep dive on the subject of handling autoplay scenarios dynamically.
For my case, I'll wait to trigger the video on user click.
  const onClick = () => {
    if (!isPlaying.current) {
      isPlaying.current = true;
      song.current.play();
      if (videoRef.current && mediumSize) videoRef.current.play();
      if (videoRefTwo.current && !mediumSize) videoRefTwo.current.play();
      setShowPlayButton(false);
      setTimeout(() => setShowTapStory(true), 2000);
    } else {
      if (videoRef) videoRef.current.pause();
      if (videoRefTwo) videoRefTwo.current.pause();
      videoRefTwo.current.pause();
      isPlaying.current = false;
    }
  };
iOS Considerations
Chrome is my daily driver on desktop. When I went to test this, the behavior was not what I expected.
We already covered the fallback image above.
Additionally, playing the video would literally set it to a full-screen player instead of staying embedded in the web page.
Thankfully, it's as easy as an attribute on the video tag to get this working: playsInline did the trick for me.
<video
    preload="none"
    loop
    muted
    type="video/mp4"
    playsInline
    ref={videoRefTwo}
    className="album-story-video"
    key={verticalVideoSrc}
>
Voilà!
With that, we now have a full-screen video working!
(This is part of an upcoming project on this site. I can't show the results just yet, so I'll share them when it goes live!)
Games as Hard-Work
I just picked up good ol' Wave Race 64 for the first time in years and had a blast. It got me thinking about Jane McGonigal's Reality Is Broken.. Rereading it, I stumbled upon this passage:
What a boost to global net happiness it would be if we could positively activate the minds and bodies of hundreds of millions of people by offering them better hard work. We could offer them challenging, customizable missions and tasks, to do alone or with friends and family, whenever and wherever. We could provide them with vivid, real-time reports on the progress they're making and a clear view of the impact they're having on the world around them.
That's exactly what the games industry is doing today. It's fulfilling our need for better hard work—and helping us choose for ourselves the right work at the right time. So you can forget the old aphorism "All work and no play makes Jack a dull boy." All good gameplay is hard work. It's hard work that we enjoy and choose for ourselves. And when we do hard work that we care about, we are priming our minds for happiness.
I'll chime in and say art does a wonderful job of this as well.
Music, for example, checks off several of the different types of "Hard work" McGonigal highlights as present in games:
The timeline for achievement in art, though, is usually loads longer. Games provide an addictively quick feedback loop.
Games also just do a dang good job of making failure fun. More on that later on in the book, but I'll leave it here for now.
All of Me
Why not take all of me?
An Apple A Day
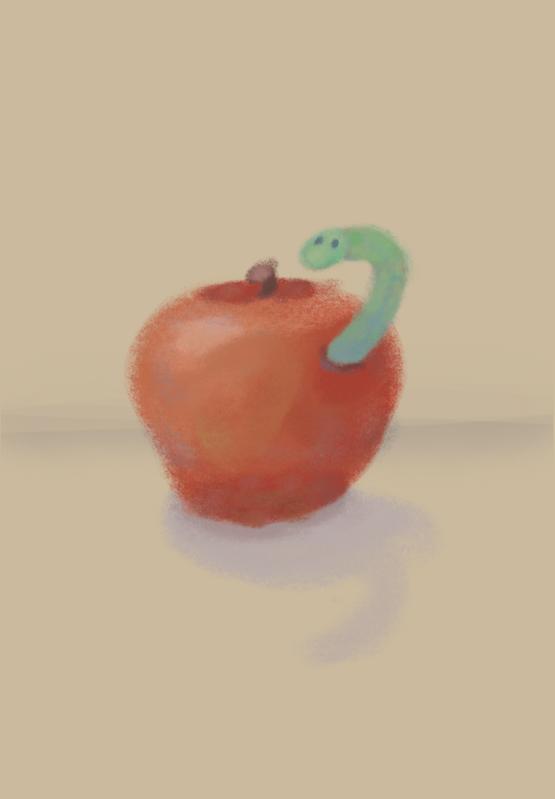
This guy is already using the M4 chip.
Myst Constraints
Absolutely fascinating hearing the constraints on developing games and software in the early PC era. Linked above is Rand Miller discussing the way Robyn Miller would have to stack rendering 3D images for Myst back to back while he would go grab dinner.
The whole interview is great for more of those nuggets. The memory constraint of CD ROM read speeds is one I hadn't expected.
Amazing that, even with all the resources and speed available to us today, performance constraints remain a top-of-mind consideration for engineers. Albeit, now for optimization, rather than "will this even run at all?"